So what do you need to throw a cool movie night themed birthday party? A strong back, comfortable shoes and a ton of grace.
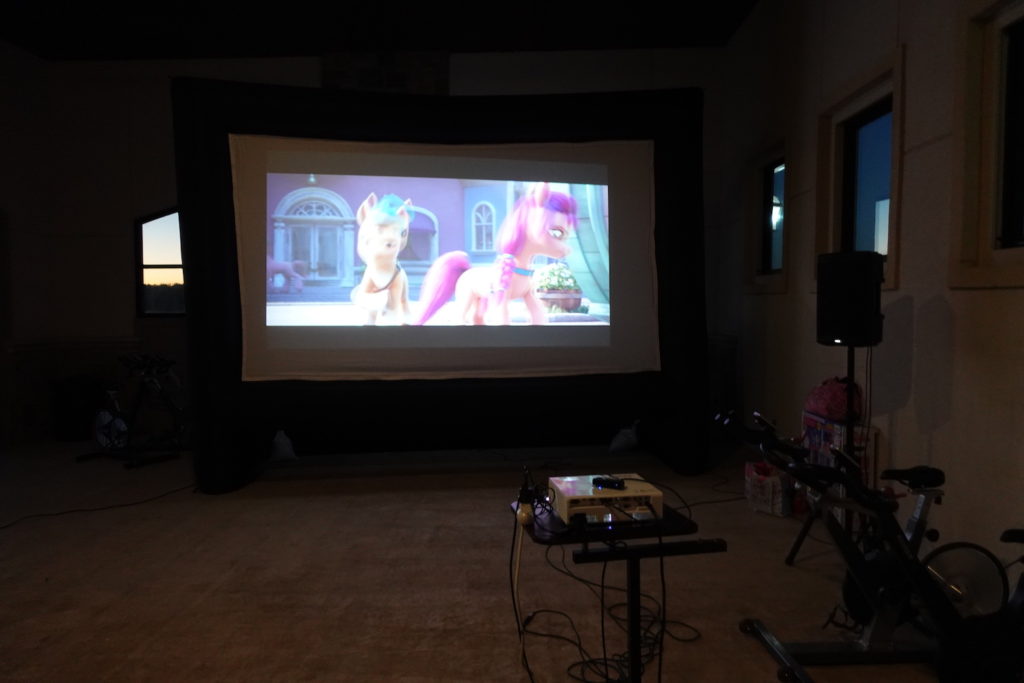
We were unsure about the weather to host a backyard movie themed party for my twins birthday in October. So we decided to host it in our enclosed amenity center. It has wi-fi, bathrooms, picnic style tables, lots of outlets and space for a GIANT movie screen.

block party, community event
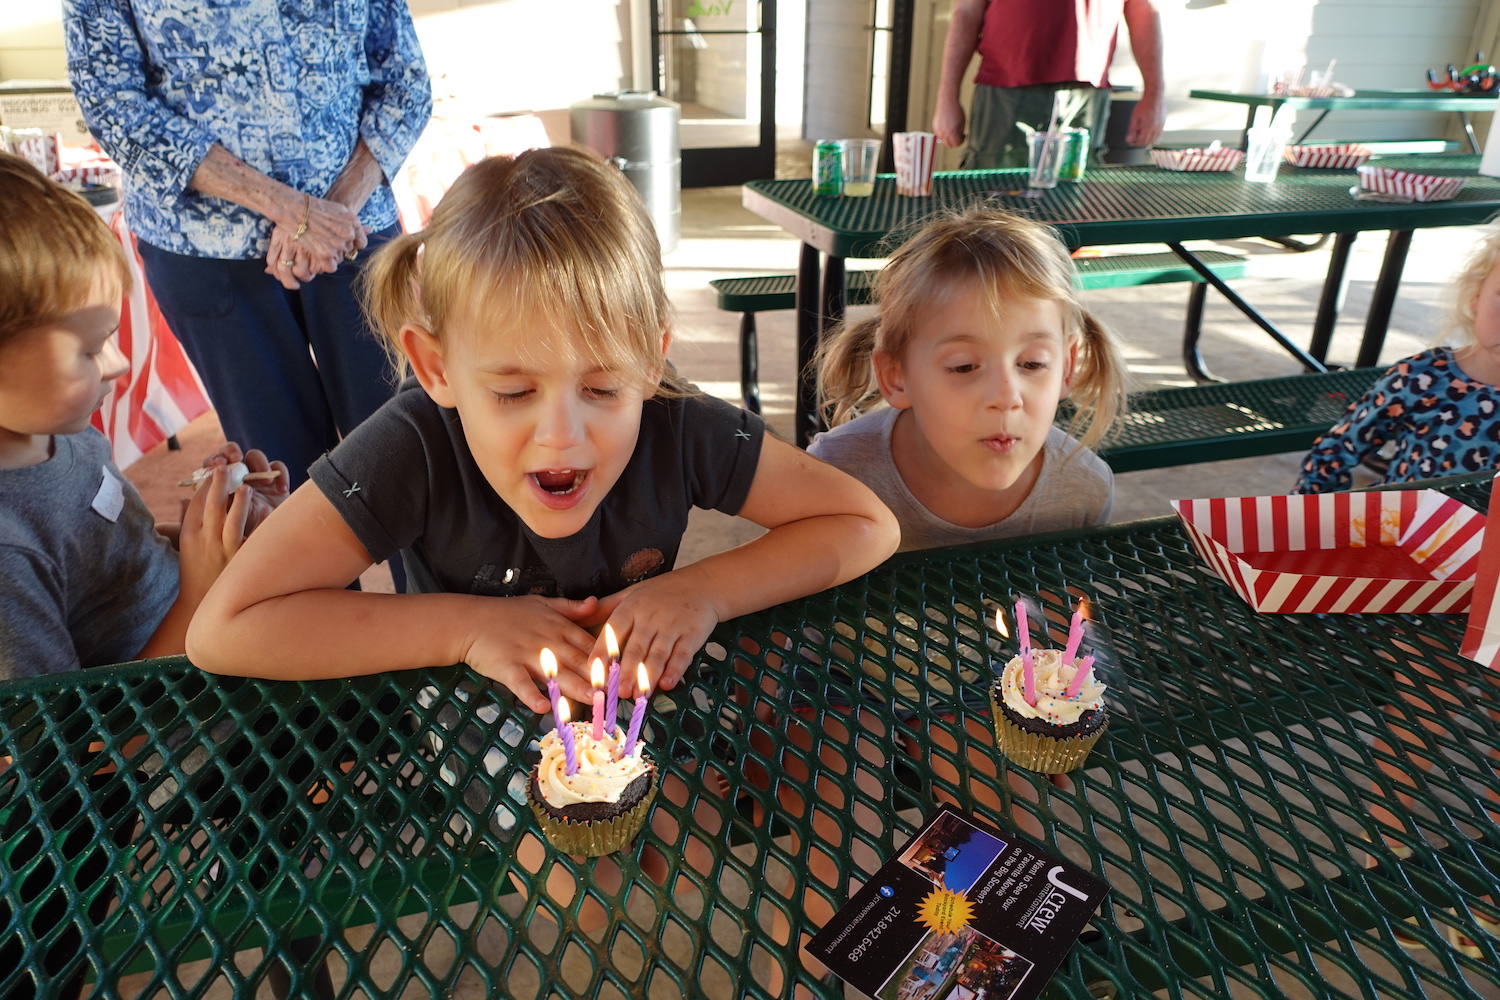
call Paul at (214) 842-6468.
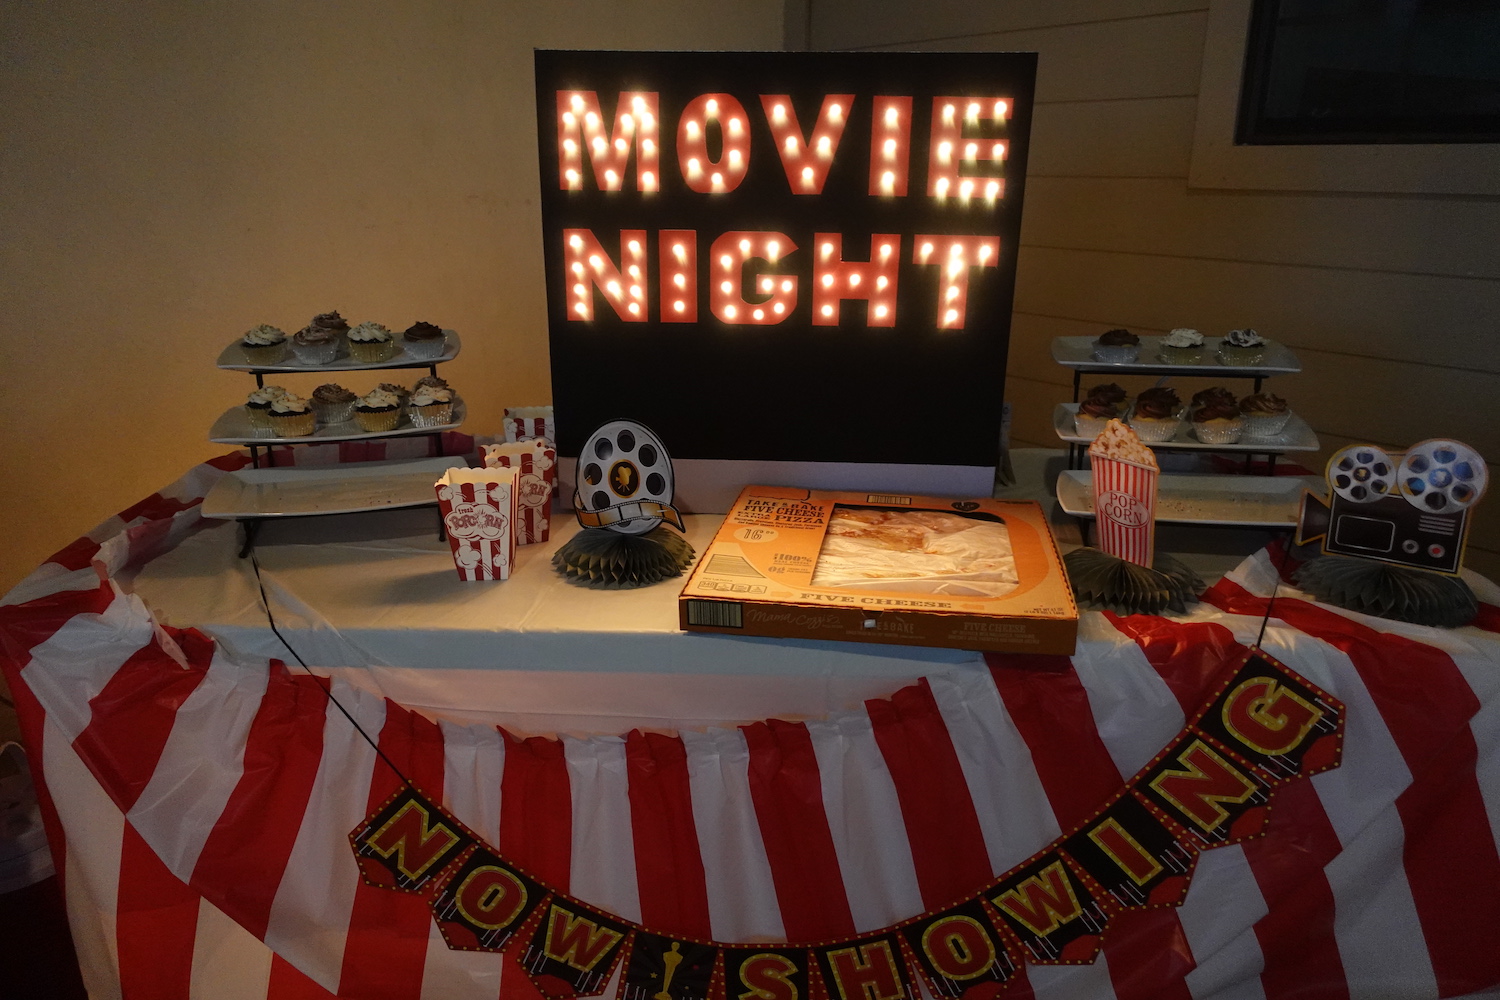
To make the night super fun while you are awaiting for the sun to go down Paul can play music for guests to dance and setting the mood for fun. The entertainment crew handles all the set up and tear down. Ya’ll have no idea how thankful I am for this local family owned business coming through when they did. It was one of the things that went right. They showed up on time to helping us set up our Roku streaming stick so that we can play our movies to paying them with Venmo. The entertainment crew handled all the set up and tear down of this giant movie screen, projector and speakers. I recommend for movies to actually play when the sun is down for the quality of the colors to show great on the screen. I took a photo at 5:30pm when Paw Patrol was on and then I snapped another photo at 6:15pm during My Little Pony. For all the work, quality of the equipment and service we received I would definitely recommend J Crew Entertainment for birthday parties, block parties, drive-in fundraisers to community events.
Lights, Camera, Action
Here are some photos from our party. Below I will share quick links, how to’s and lessons learned.
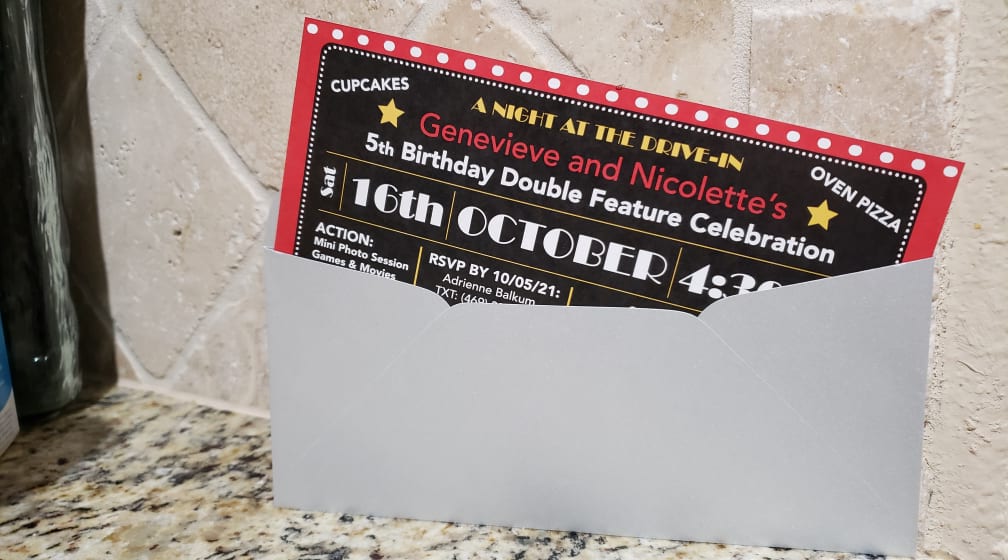
Movie Marquee Invitation
I designed my invitation and had them printed at Staples on card stock paper and mailed them in a silver letter #10 envelopes. Give yourself a minimum of 4 to 6 weeks to work with vendors and well your sanity.
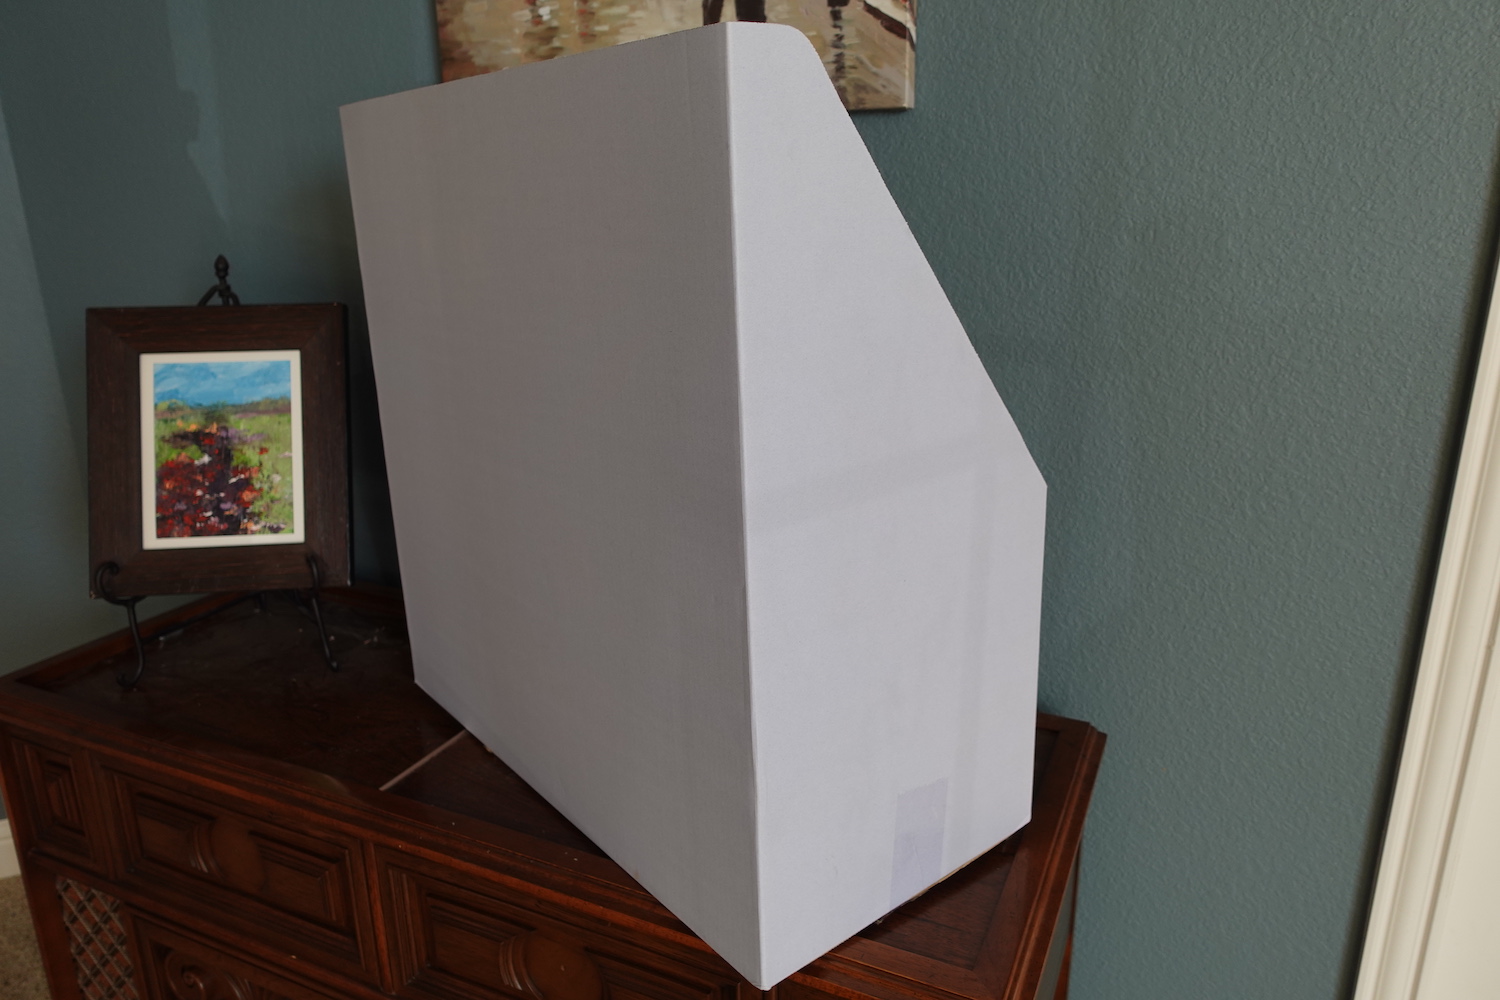
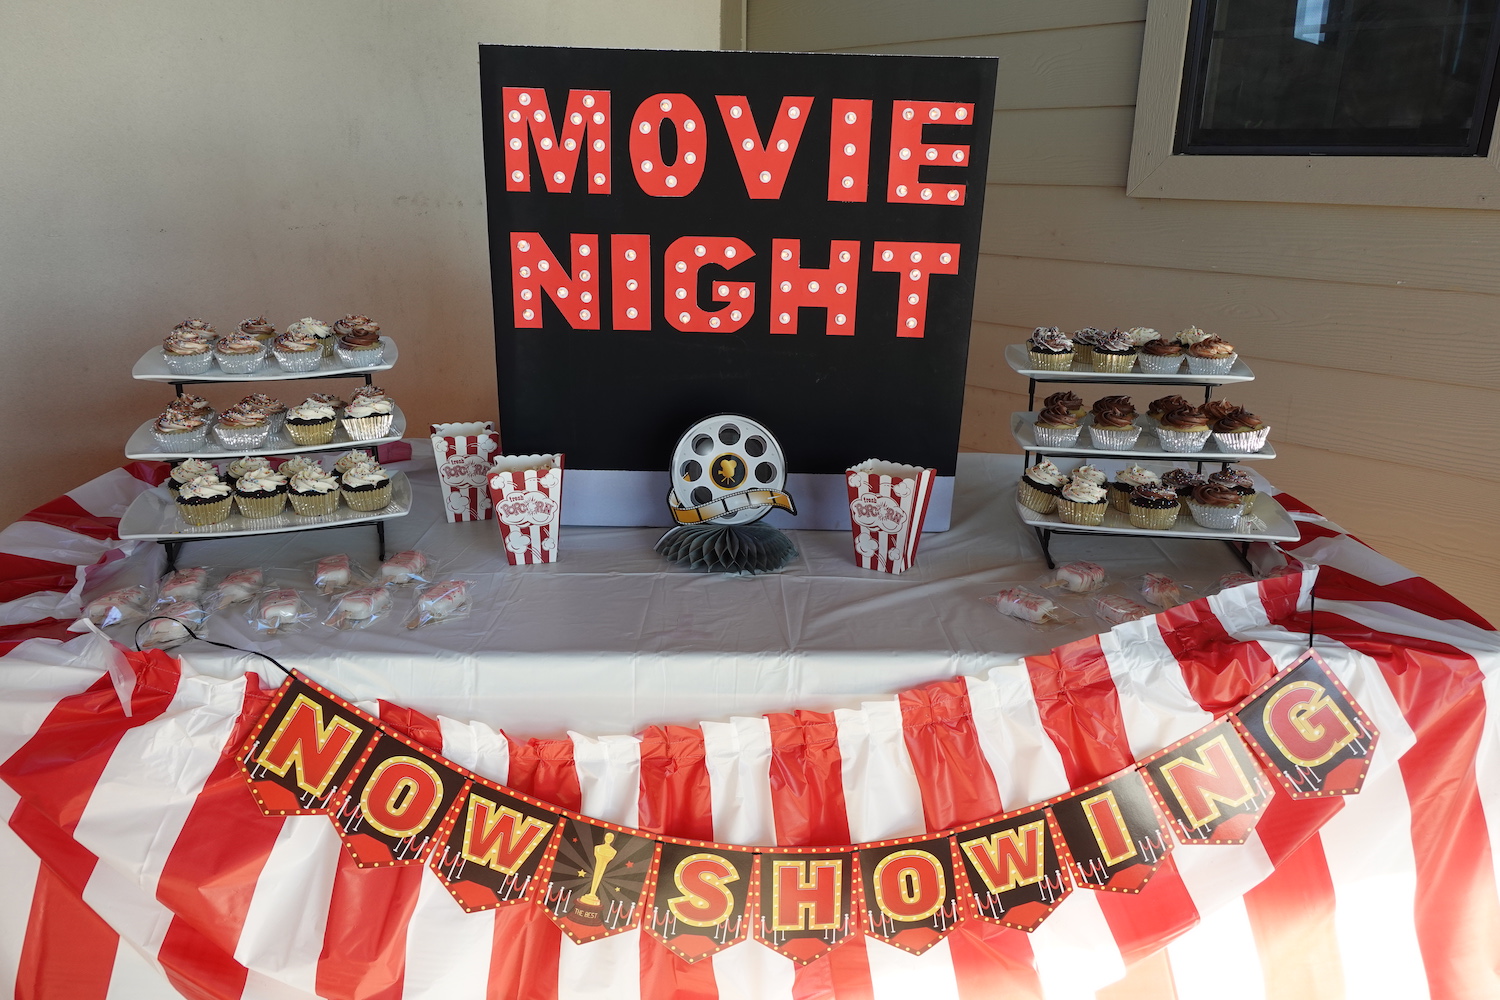
Marquee Centerpiece
Walk through Home Depot or Lowes and score yourself a free sturdy box like I did to use for a center piece. They are going to crush and break down those boxes once the stock is placed on the shelves. Worst thing they could say is no. I happen to notice there was a bunch of box debris in one of the aisles and I asked an associate if I could have them. It is that easy. Before I went, I did call to speak with a manager but was on hold for well over 10 minutes with no answer.
Here are the materials that I used to create the Marquee Display:
1 black 22″x28″ poster board and 1 red black 22″ x 28″ poster board that I purchased at Hobby Lobby for $0.87 cents each.
1 Reinforcement Stickers Labels for $1.76
• Glue
• Clear Tape
• Ruler
• Drill
• Xacto Knife
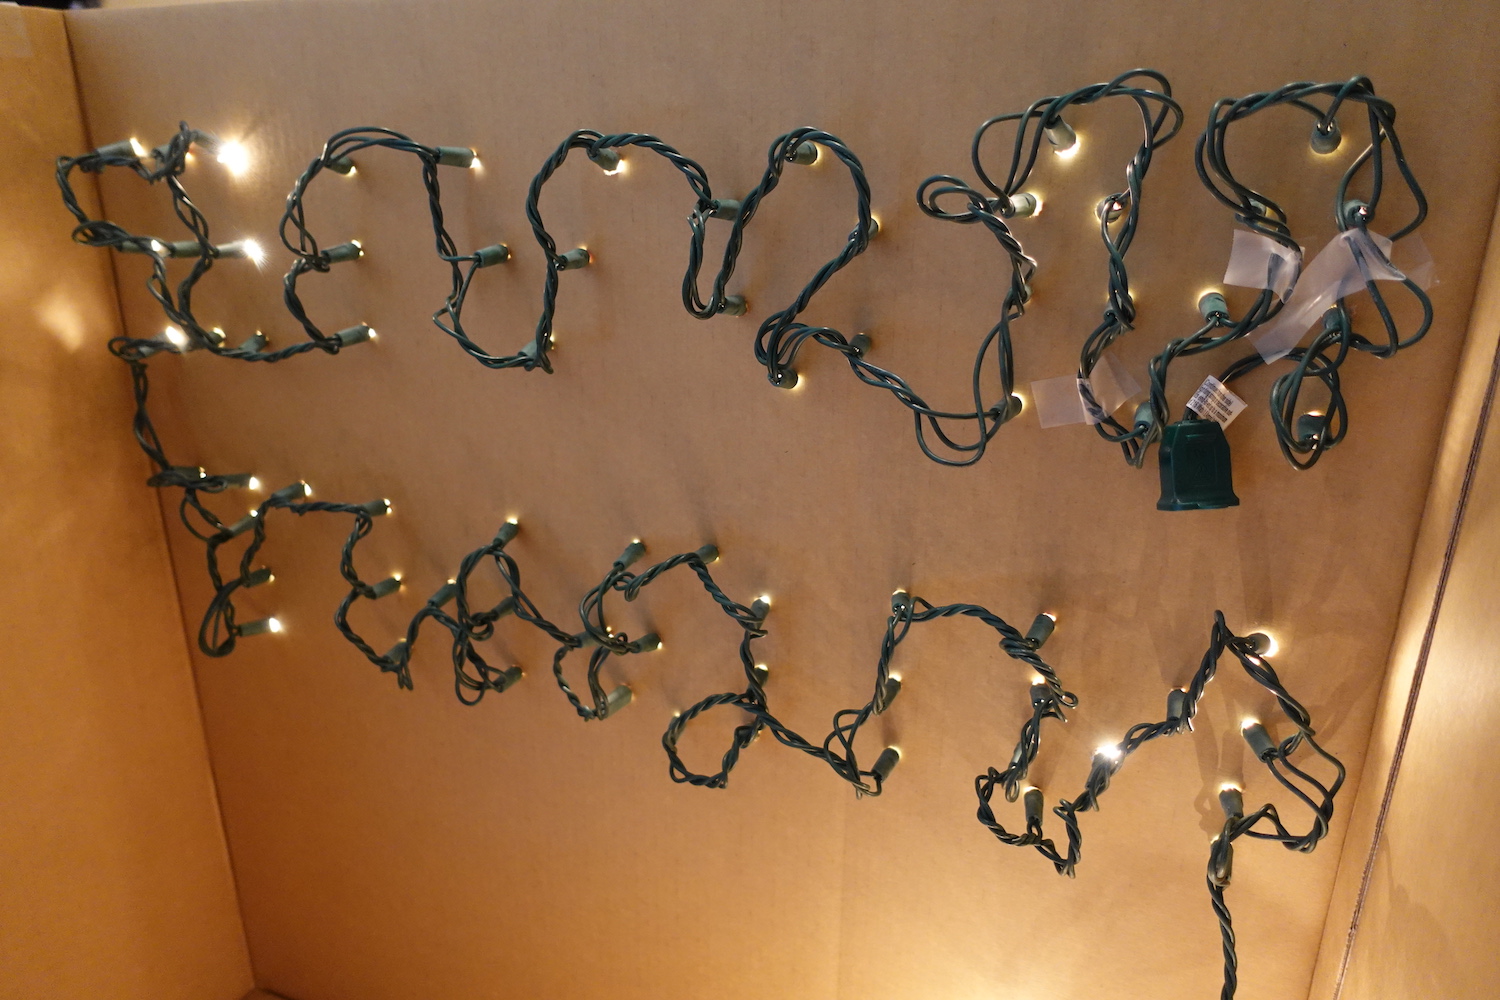
• Christmas Lights
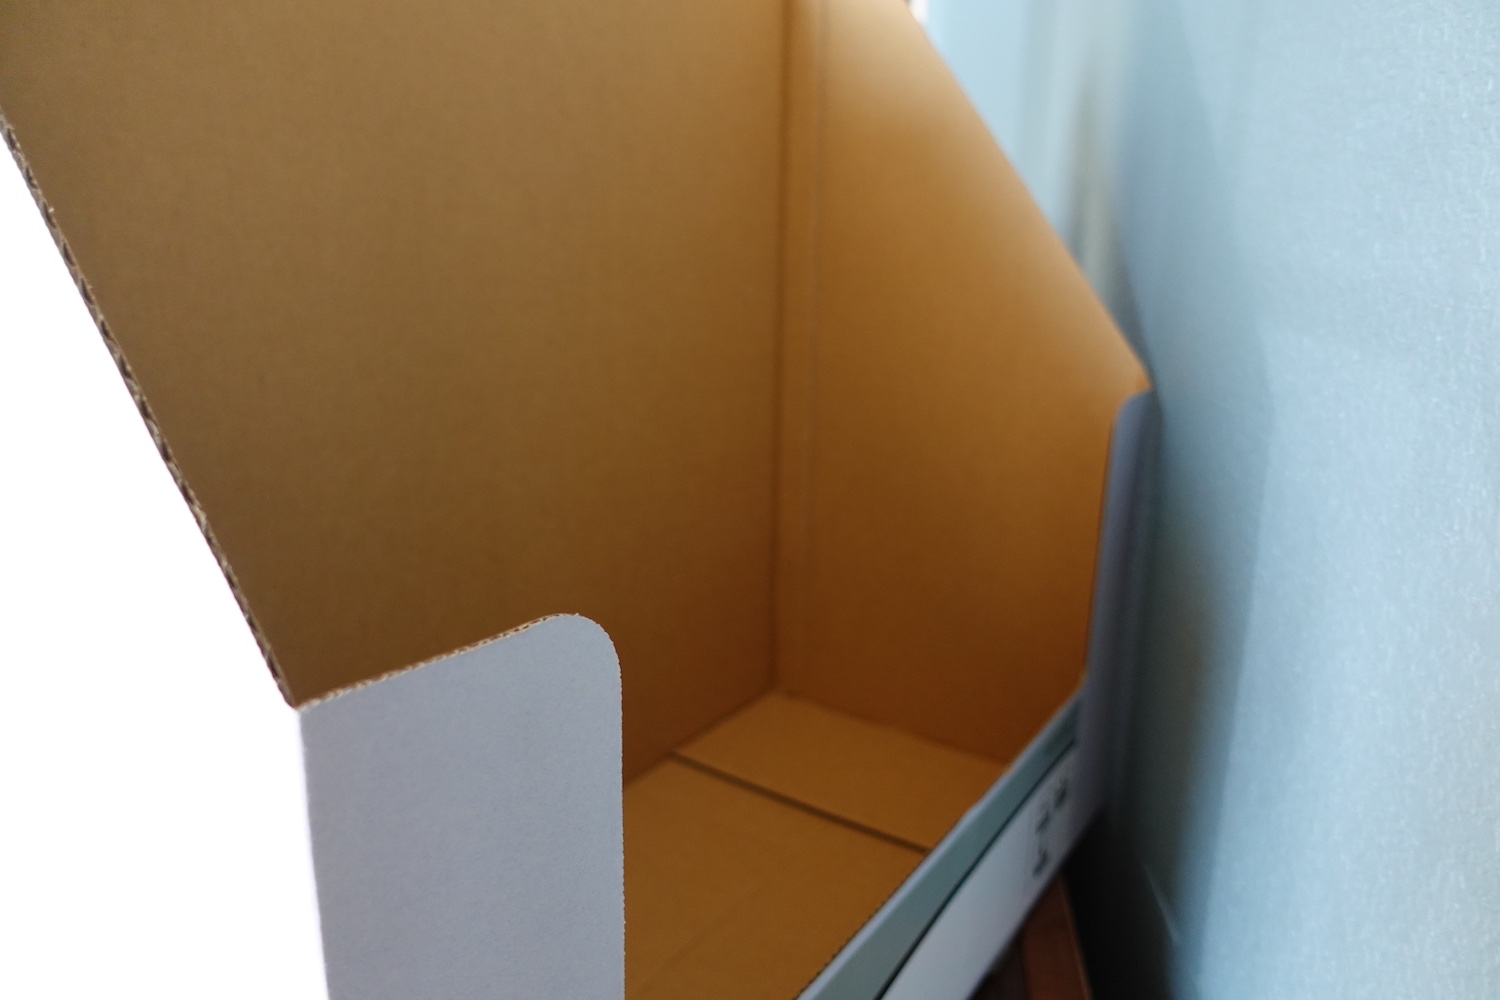
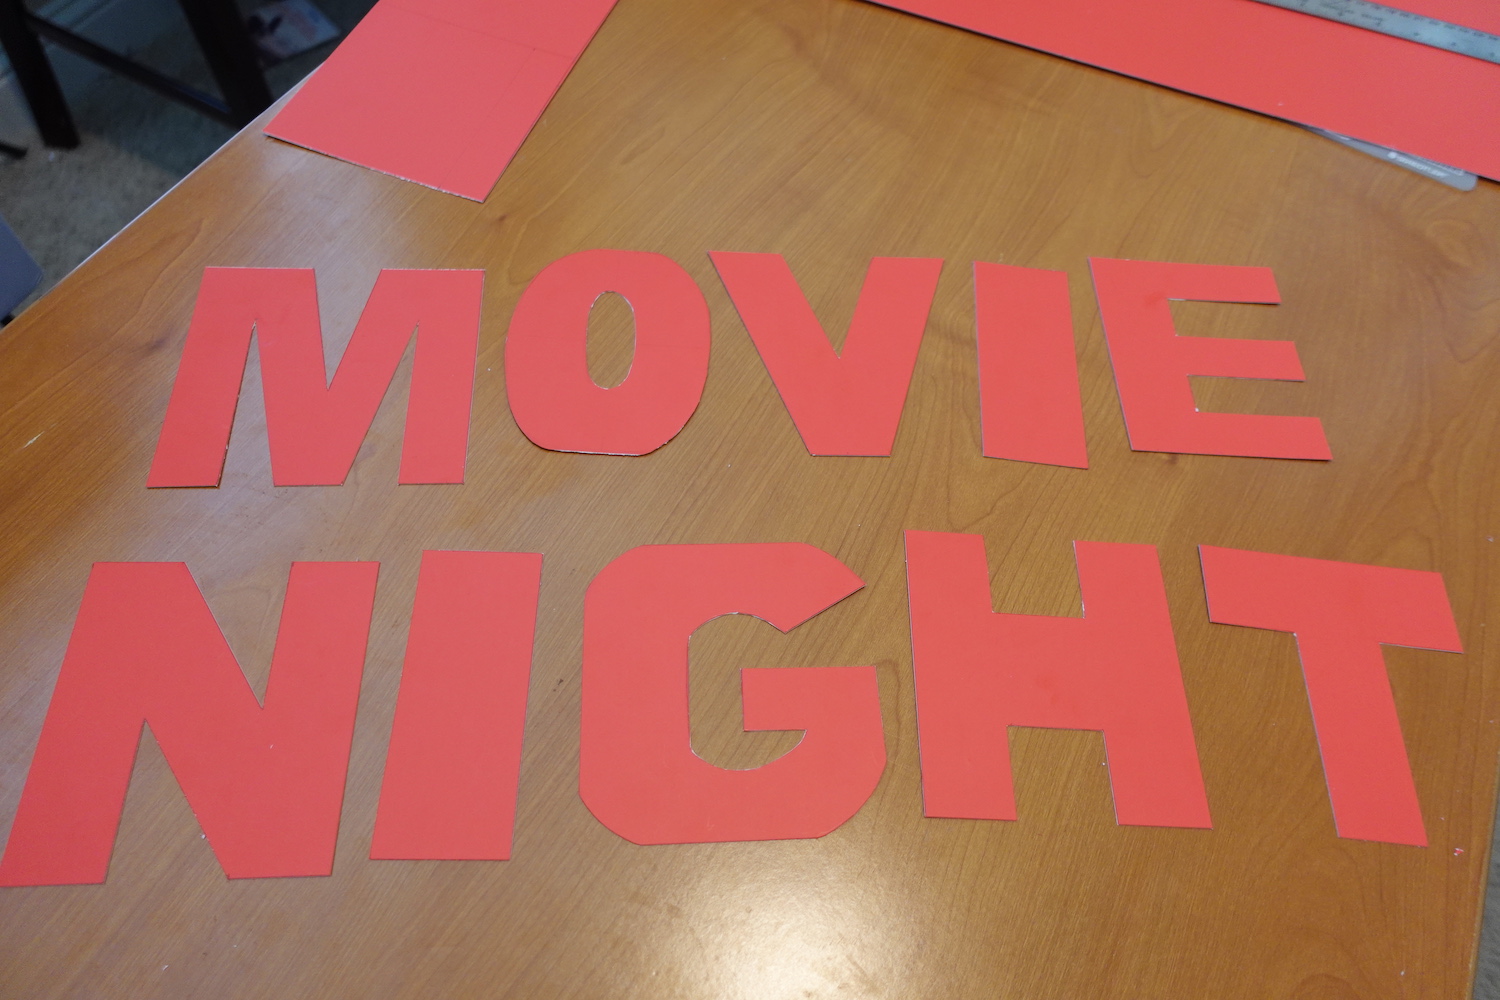
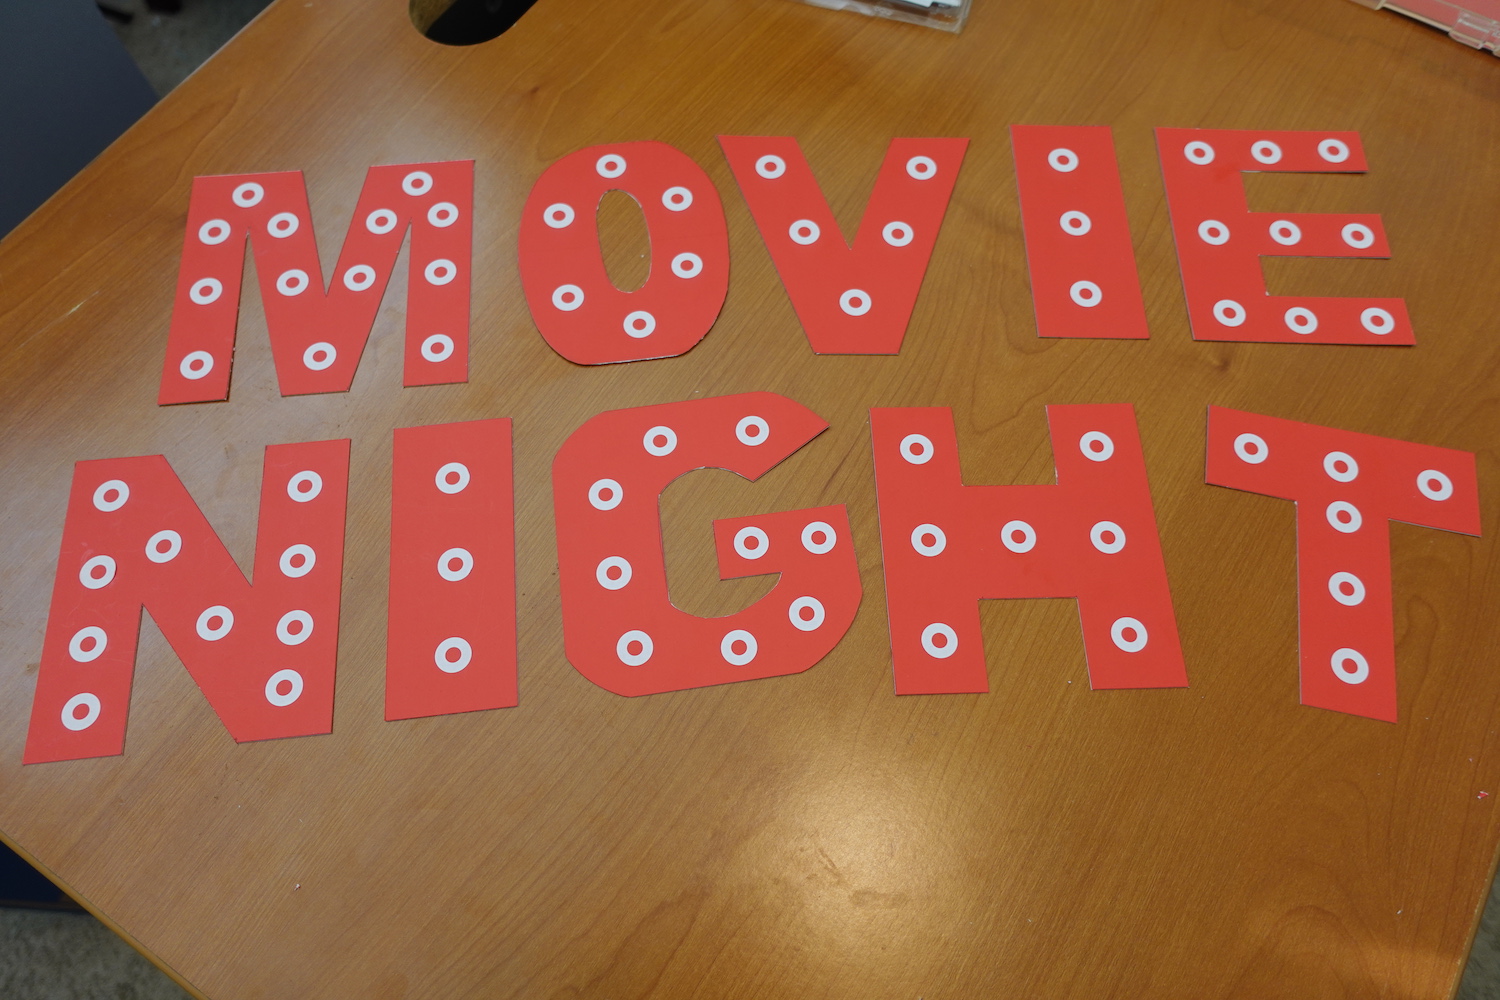
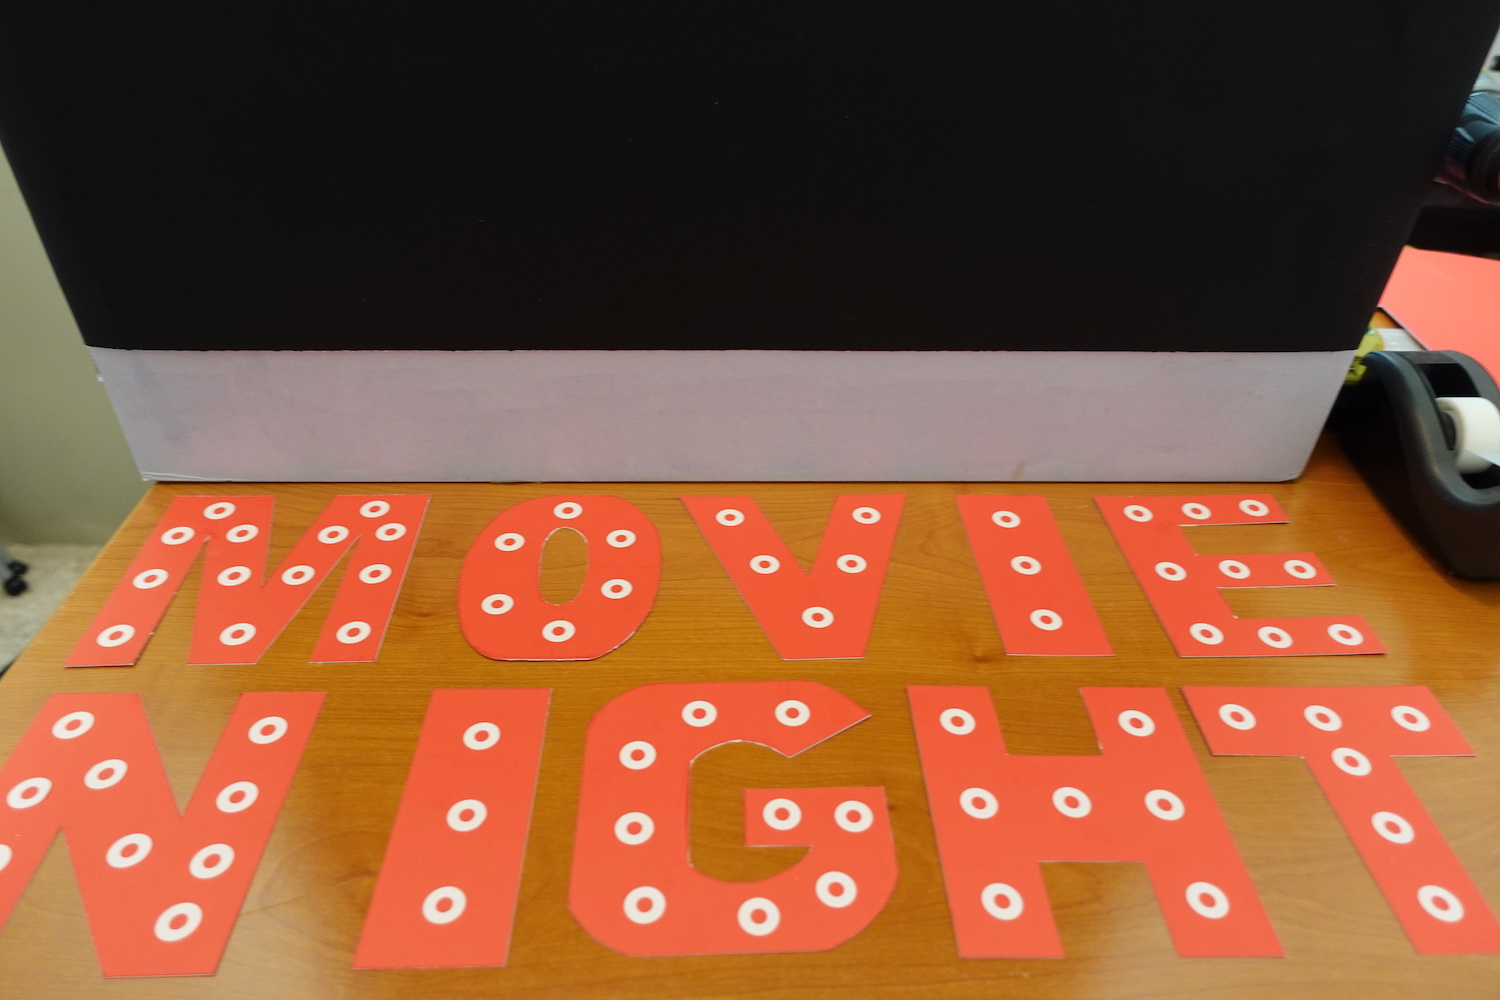
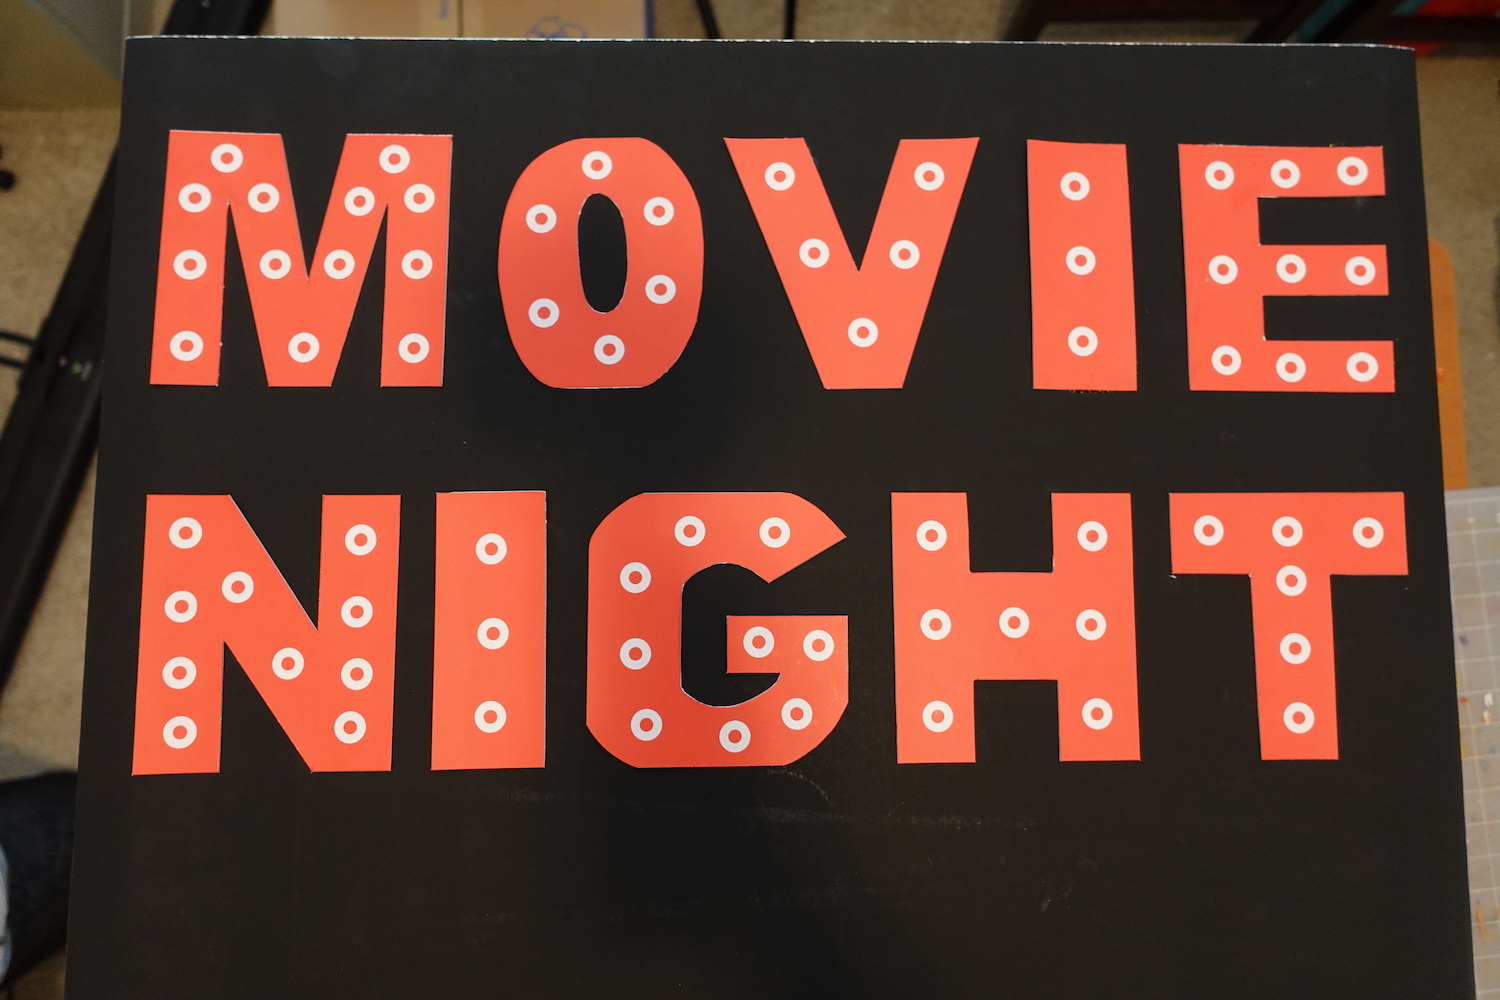
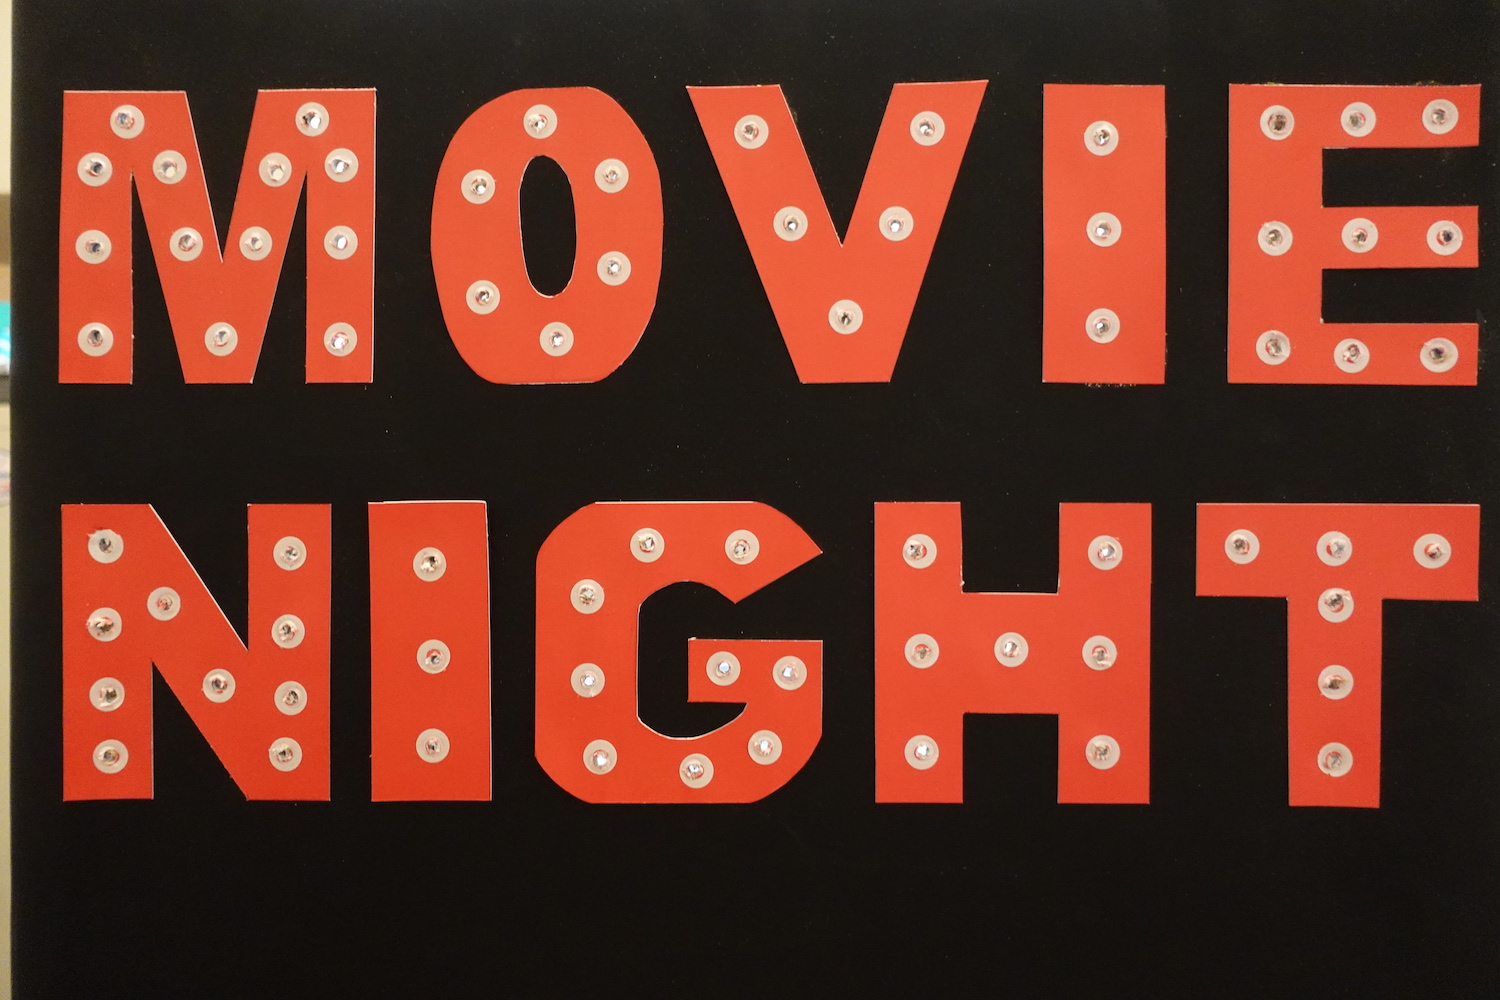
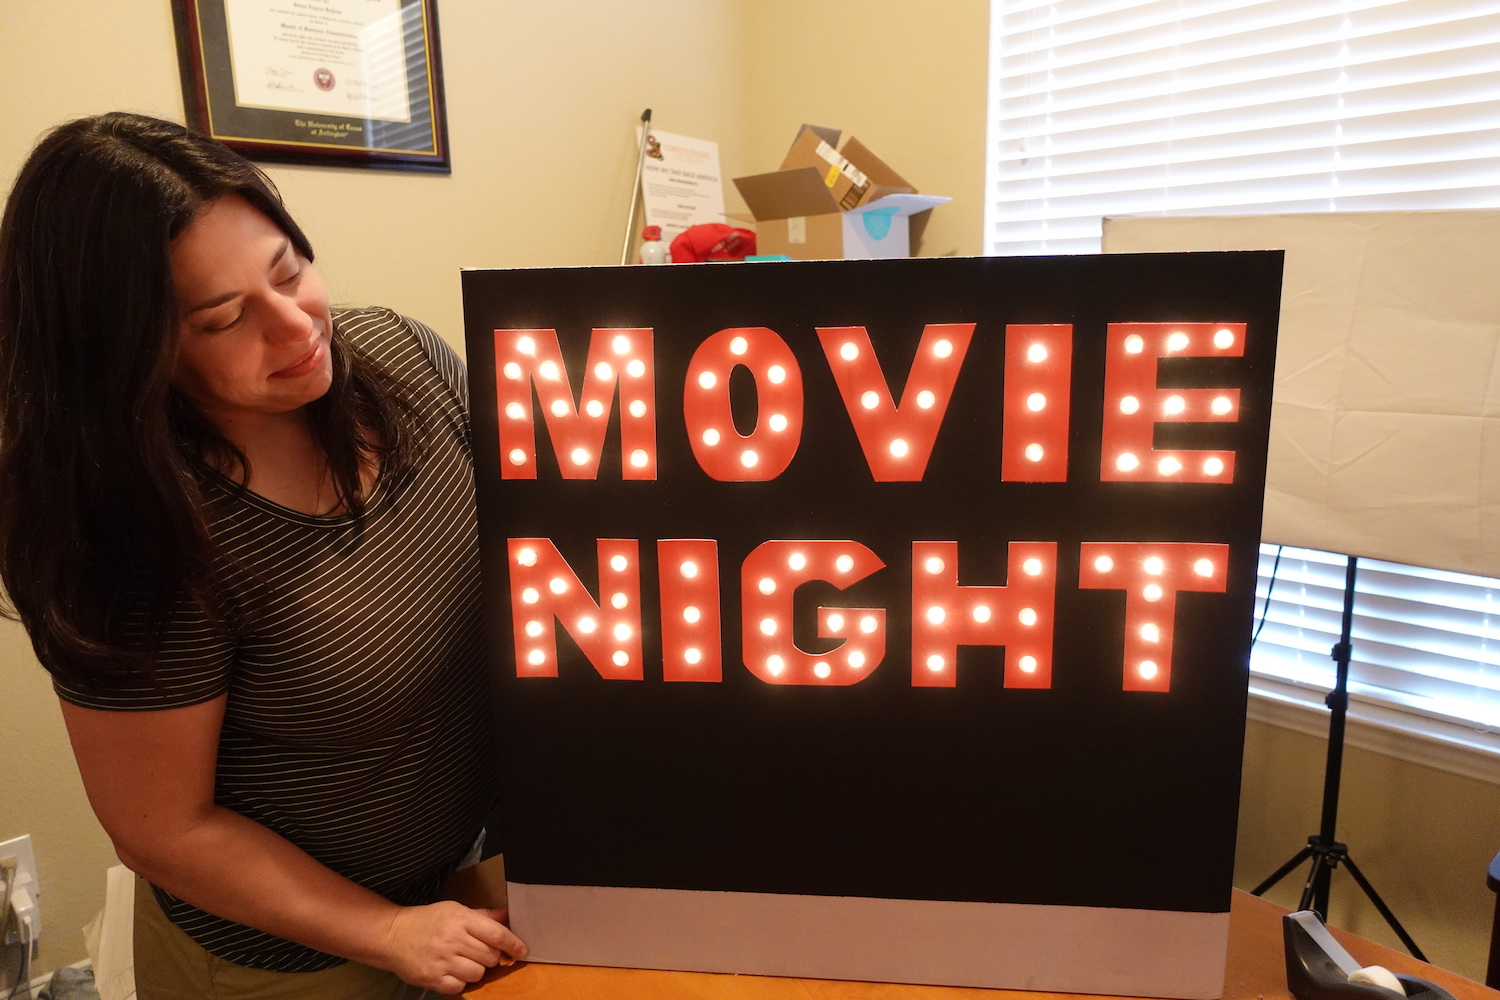
How To Create The Marquee Display?
I centered the black poster board and taped it on the sides of the display box. I did not make it a sharp edge. I just kinda rolled it over the edge about one and a half inch per side. Then the most time consuming part is penciling the letters out and then using an Xacto knife to cut them out of the red poster board. If you are not confident in creating the letters freehand then I would suggest buying a stencil. Next, I added the reinforcement stickers which is used as a target to drill the holes. I glued the letters to the black poster board. Practice on another poster board with a drill bit that will work for the lights that you have to pop in. The lights should fit snuggly in the hole. Drill through the center on each hole. Insert the Christmas lights and turn on. Place the extra length of the lights in the back of the box for easy storage.
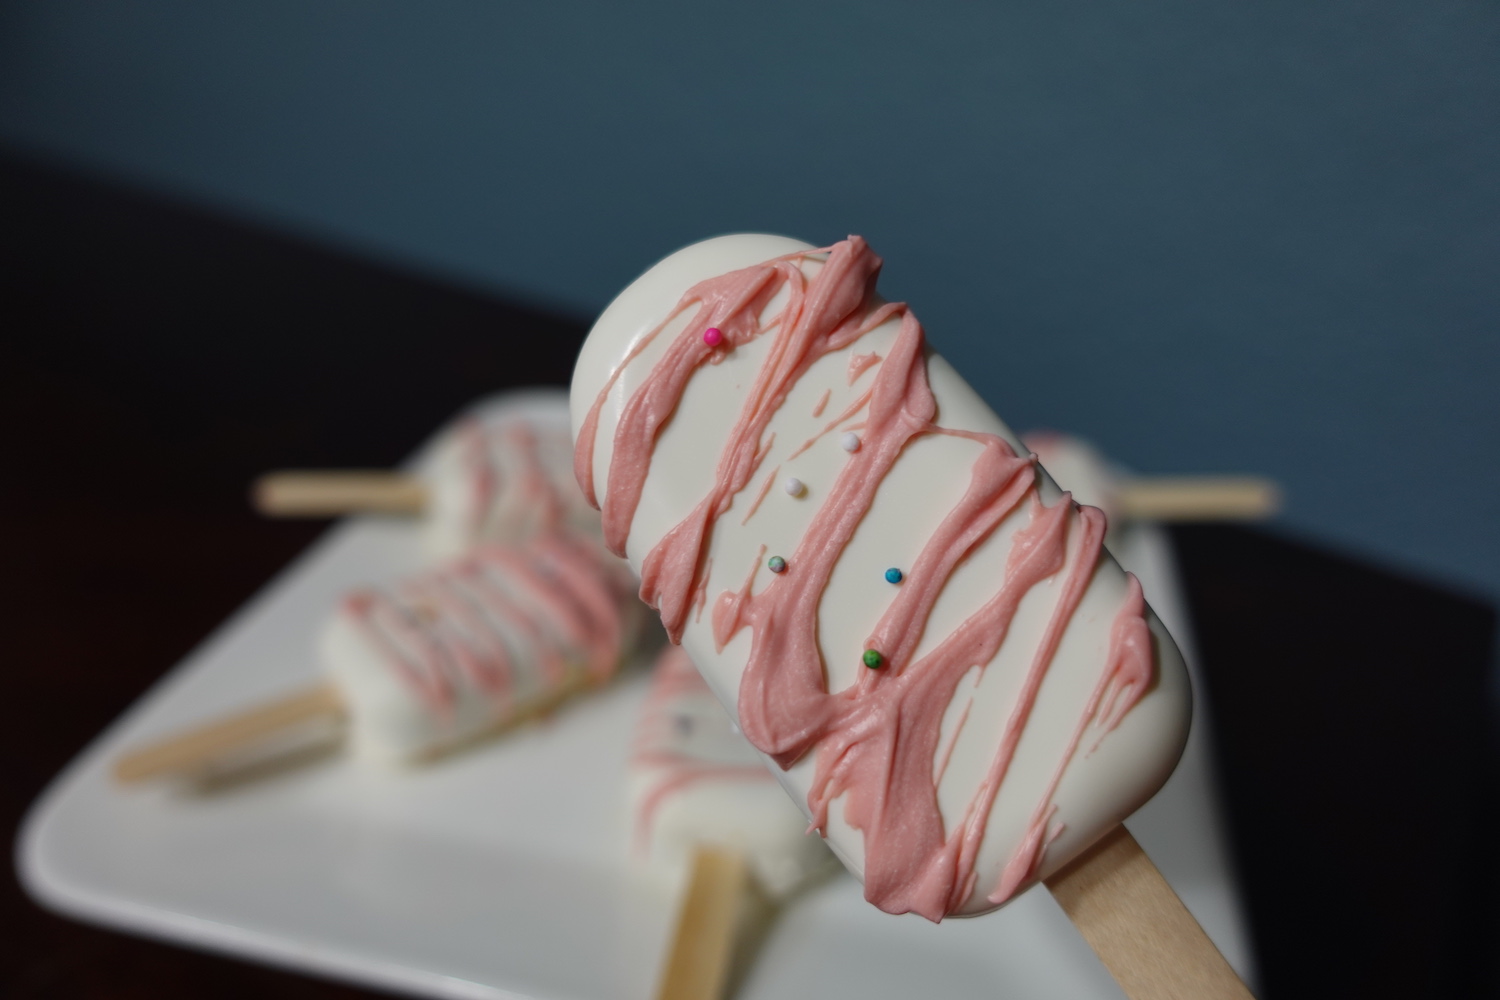
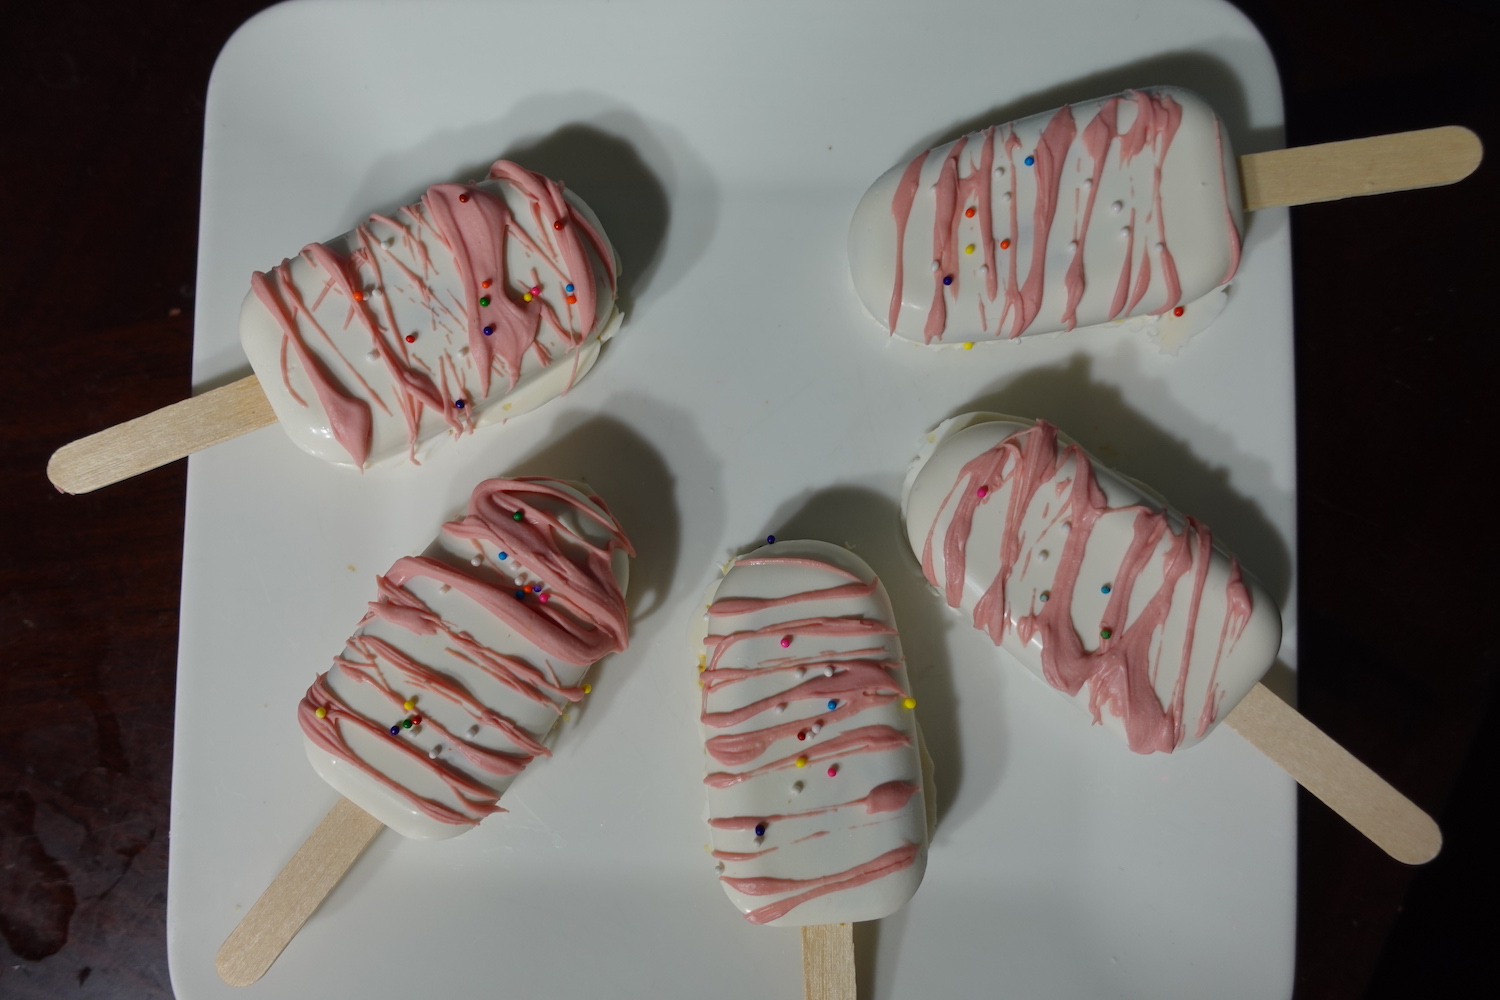
Cakesicles
Here are the materials that I used to make these caksicles:
On Amazon, I purchased the Ozera Cake Pop Mold, 2 Pack 4 Cavities Popsicles Molds, Homemade Oval Cakesicle Molds Silicone Popsicle Molds, Ice Pop Molds Come with 50 Wooden Sticks & Popsicle Bags for $8.99.
2 bags of White Chocolate Melts and 1 pack of pink Chocolate Melts and Sprinkles
I used a lemon white cake mix to bake and added two spoonfuls of butter cream frosting as I crumbled the cake in a large bowl. When I was able to take the cake mix in my hands to form a ball then I knew it was ready. Next, I started working on the boiler system to melt the chocolate. On a stovetop take a sauce pan and boil with water. Place a clear glass bowl on top and then change the setting to simmer. Pour white chocolate melts on top. Stir until it is creamy. Next, clean the silicon molds with warm water. Spoon out some melted chocolate to form a thin layer on the walls of the silicon mold. Put the popsicle sticks in the hole about a quarter of a way in. Once your layer of chocolate looks even then put it in the freezer for about 10 minutes. Next remove the silicon mold from the freezer and inspect to see that there is no cracks and that there is a thin layer of chocolate. Add chocolate as needed. You may need to return it to the freezer. If not, push the popsicle stick through until the base notch. Start stuffing the cake mix under popsicle stick first. Pack the cake mix until you get to the rim of the silicon mold. Place in freezer for 10 minutes. Now that your cake should be solid add more chocolate to seal it. You want to make sure the chocolate is over the cake area. Freeze it again for 10 minutes. Now get your wire rack out. Pop out the head from the silicon mold out and unfold gently the cakesicle out. Place each of the caksicles on the wire rack. I took another saucepan and melted pink chocolate melts in another clear glass bowl. I took a fork and drizzled the pink chocolate across the cakesicles. Then I added some sprinkles on top. When done you can bag them and seal them in the bags that came with the Amazon order. I put all of the cakesicles in the freezer until about an hour before the party. Then placed them on the dessert table.
Here is a video that gave me an idea how to do it.
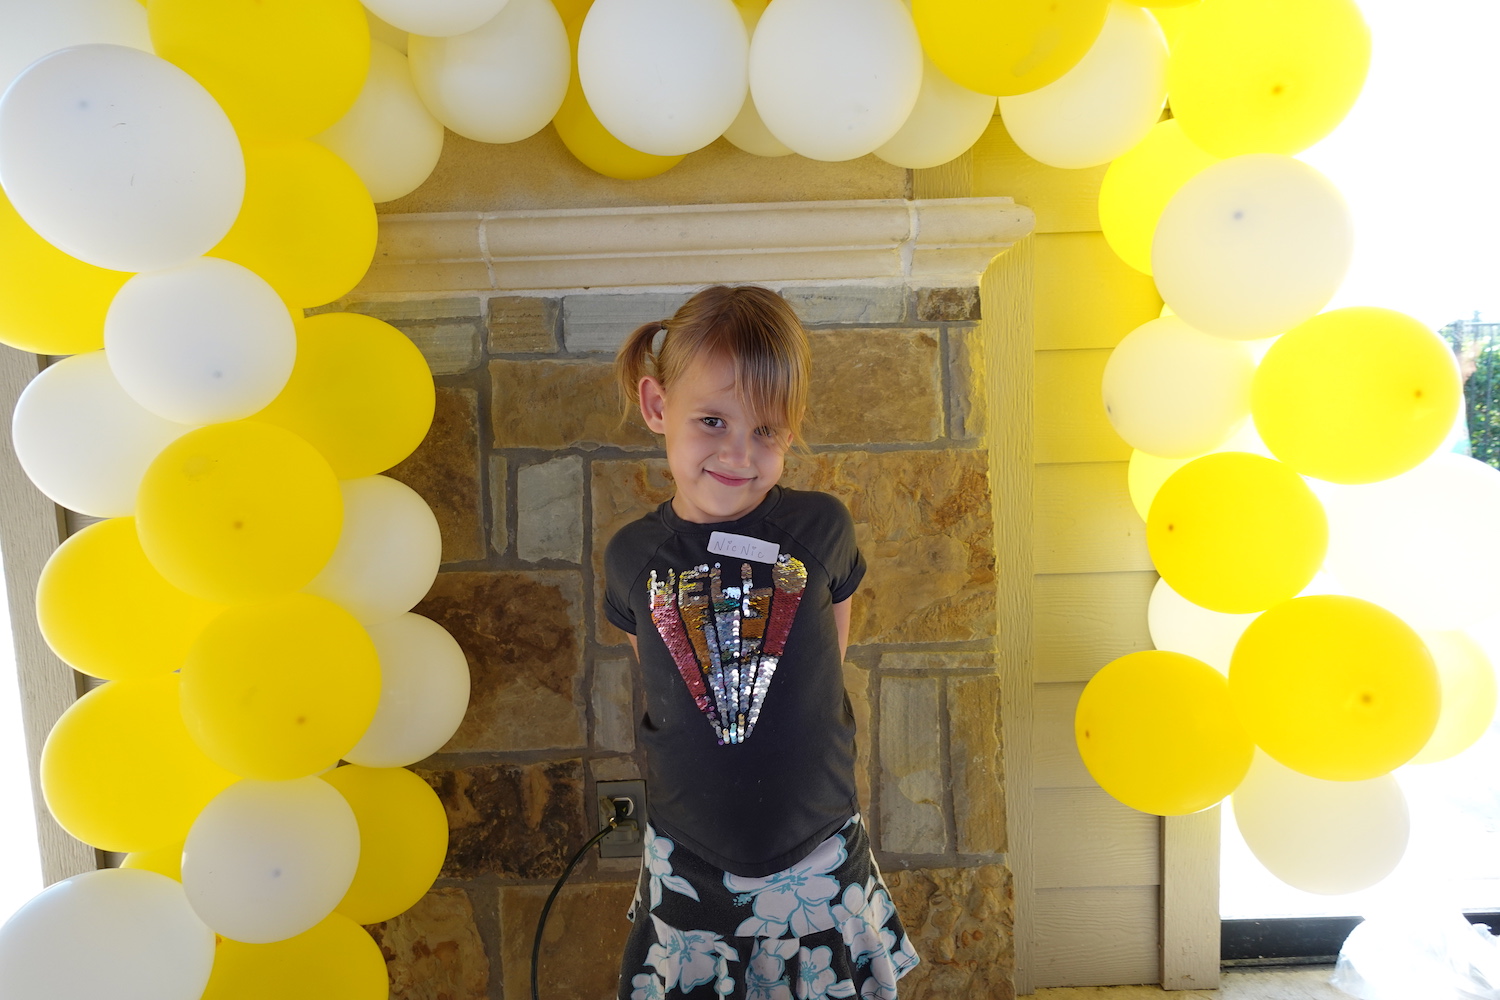
Balloon Garland Photo Booth
Here are the materials that I used to make the Photo Booth Area:
12 inch Balloons at Hobby Lobby of yellow and white for $1.59 for each pack of 25 qty.
Garland Decorating Kit for $5.99 from Amazon
You can buy just the two hole plastic strip at Walmart, Hobby Lobby, Party City and of course Amazon for a few dollars. Be sure to get string with the strip to be able to tape it against the wall or hook it to the wall to help with the shape of the garland. Allegedly, the balloons will stay inflated a week. I don’t know if that is true. You can create the garland the day before or several hours before the party. Save yourself the stress and anxiety by doing it way earlier. I had envisioned that I was going to have another balloon garland up, but I did not have the time to get it done. Placing balloons in the plastic strip is a fantastic idea! I was fortunate to be able to get it in a good place for the kids to take photos underneath the arch.
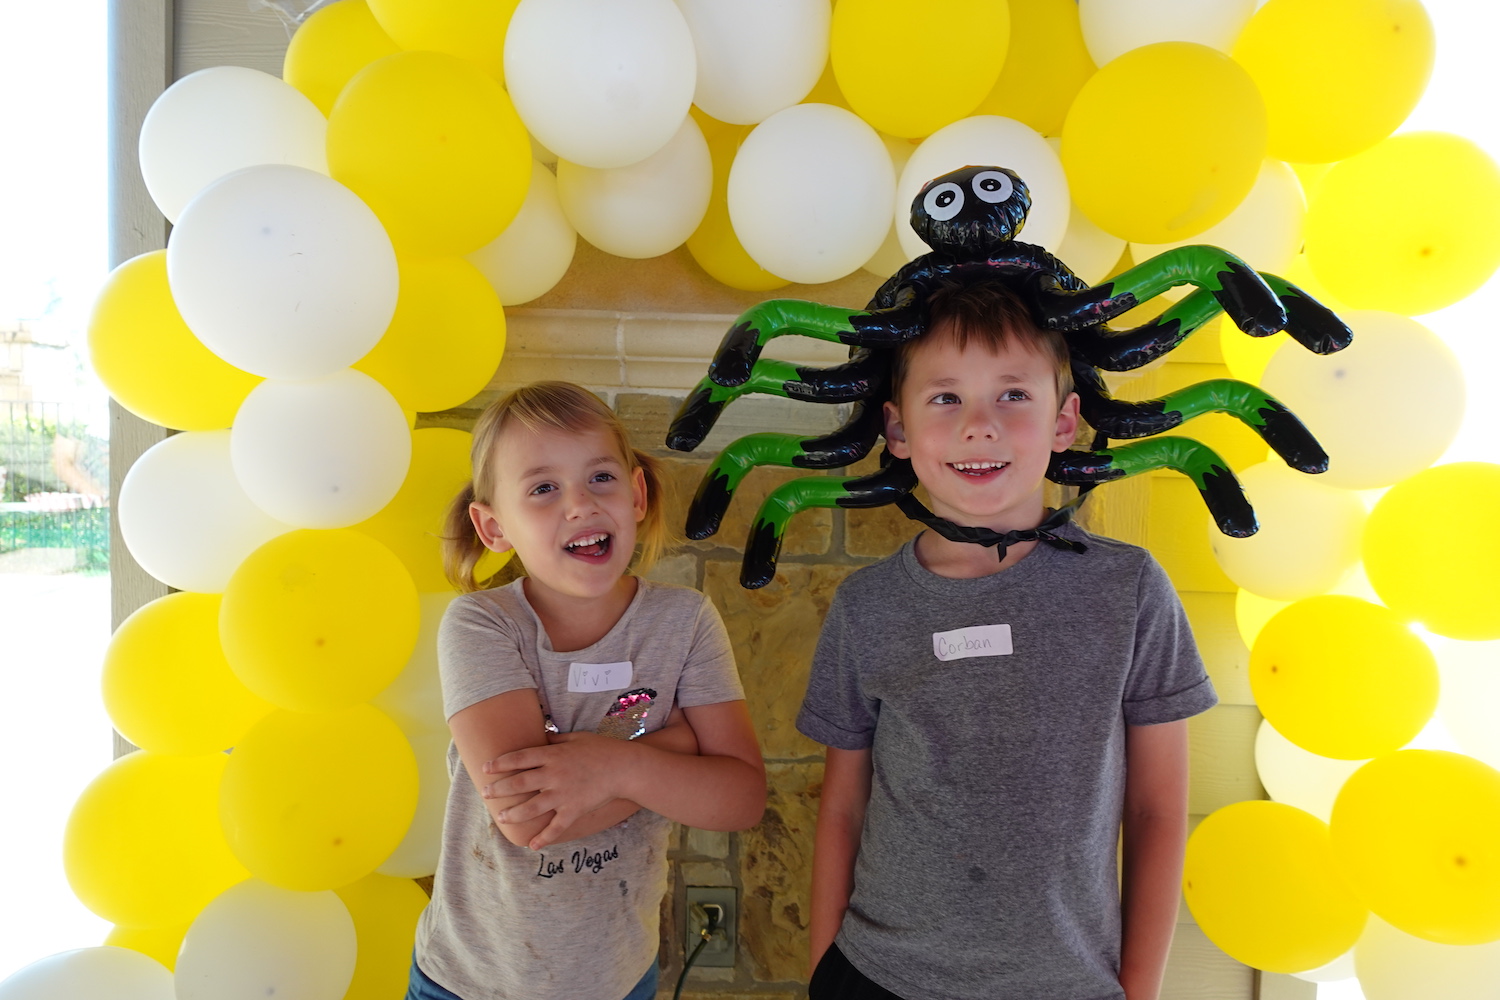
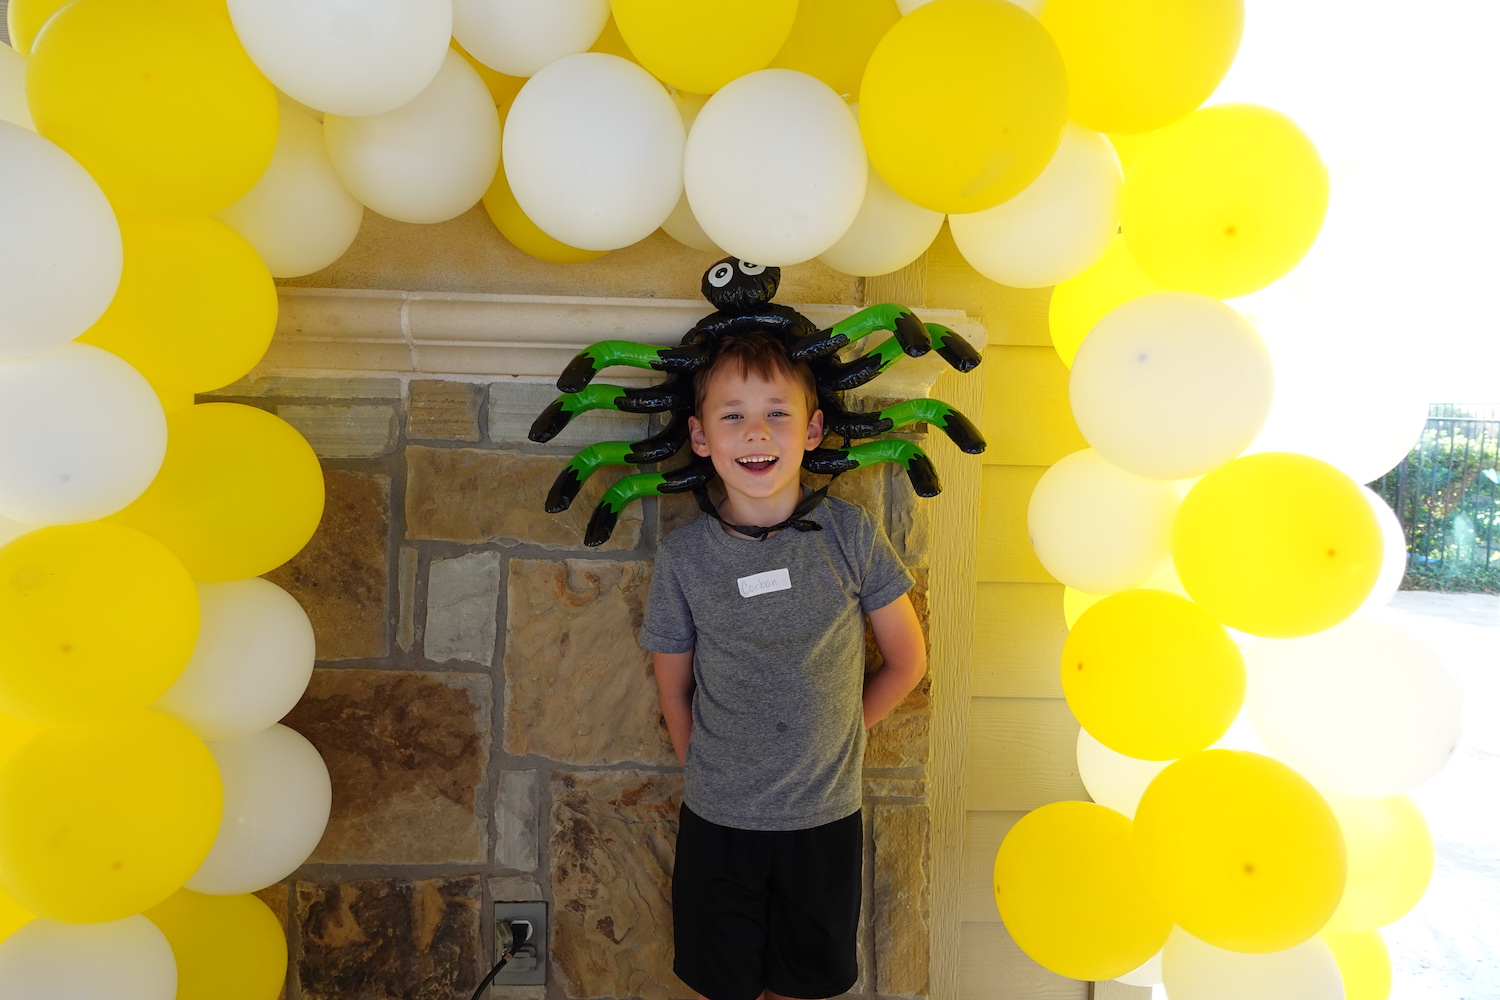
Ring Toss Game
After a little dancing we picked a couple of kids and then some adults took over to help with the kids throwing rings onto the giant spider legs. It was a great ice breaker! When things may not be going right with the party schedule break this game out to get people moving and grooving.
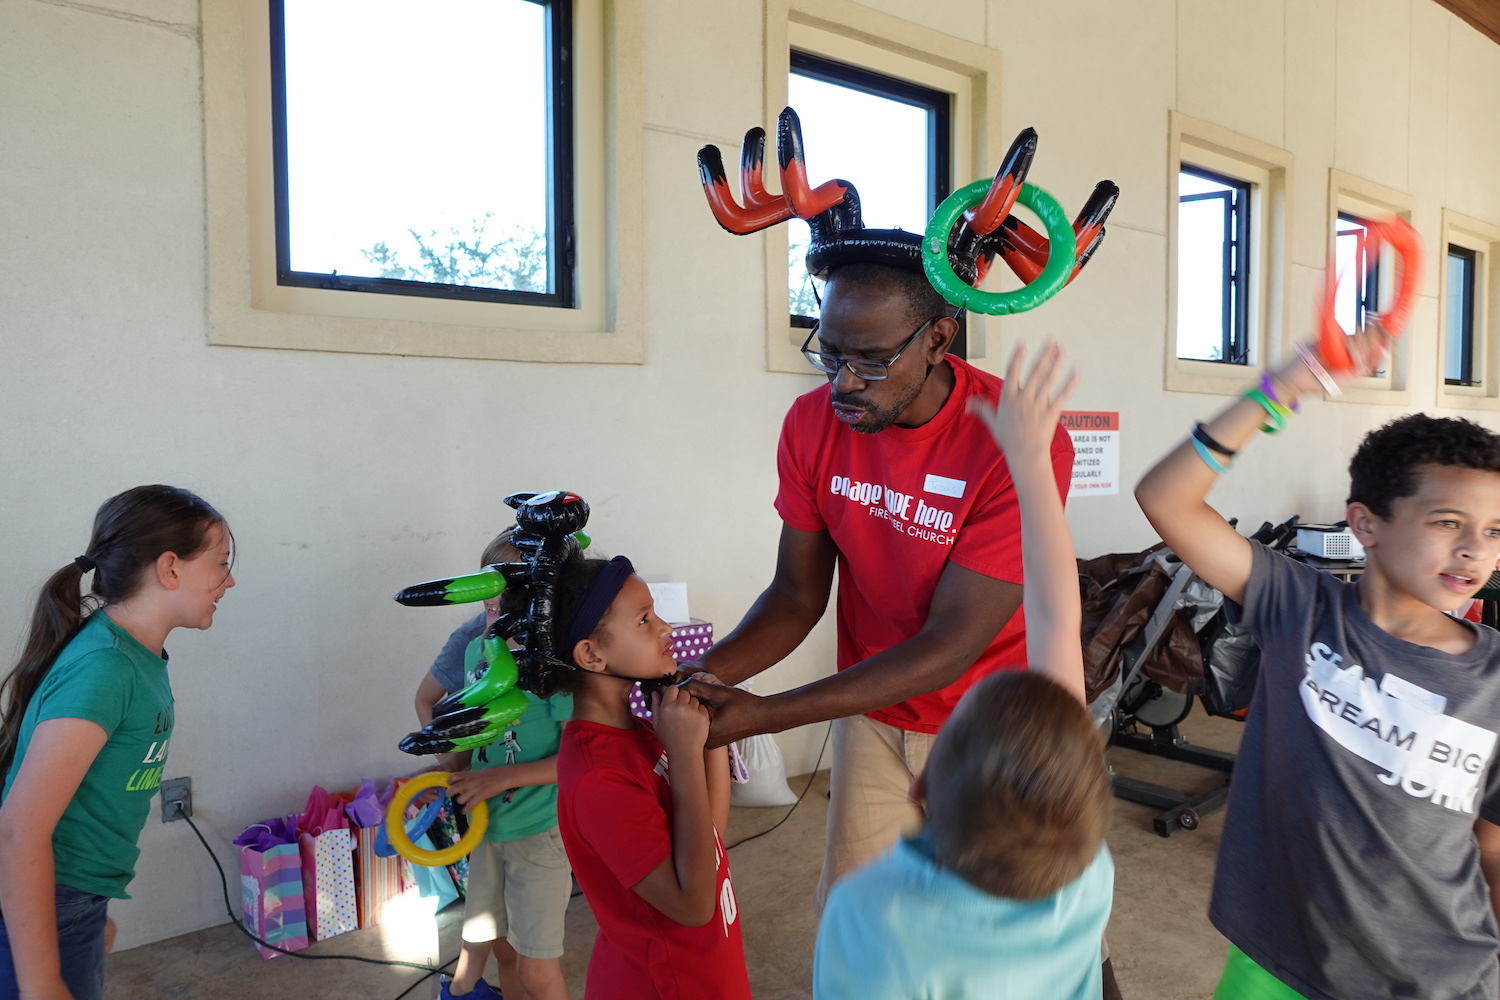
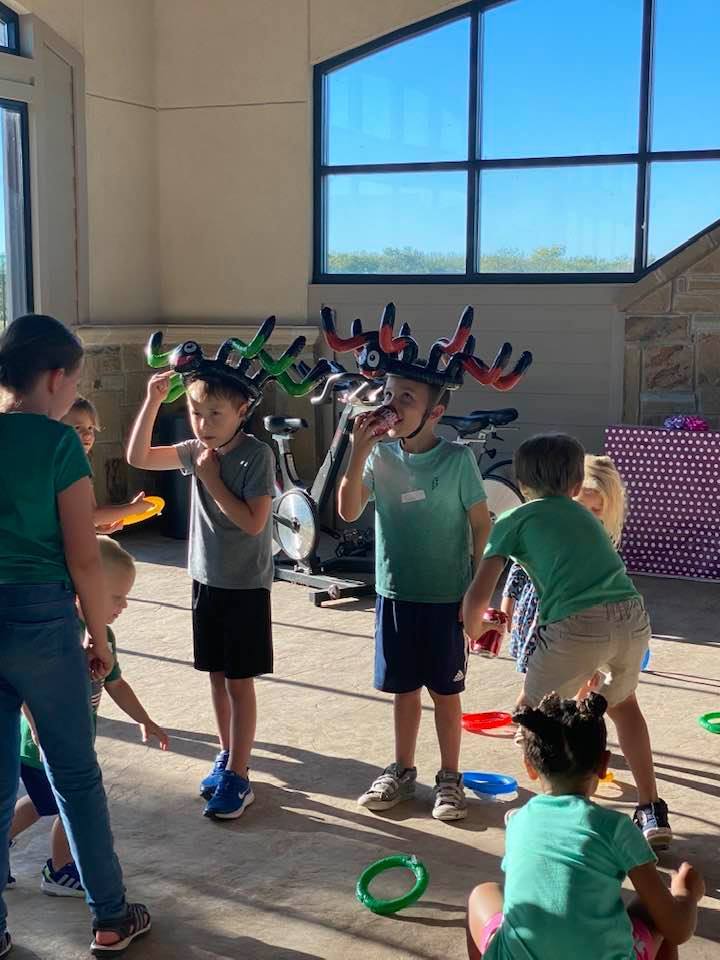
3 Giant Spiders, 12 Rings for $16.99 on Amazon
Movie Party Decorations
We purchased a lot of little party decorations, but this is the one that you mostly see in our photos that we purchased from Amazon. It is a 20 piece set.
Movie Night Party Decorations on Amazon for $12.99
Popcorn Machine
In our situation, we did not have access to a microwave otherwise we would have used our microwaveable popcorn. We bought this Air Popper for $19.99 and the Orville Redenbacher’s Gourmet Popcorn Kernels for $8.99. There is ZERO taste to the popcorn so you have to add butter, salt and whatever ingredients you like to jazz it up with. So if you are going to invest into this appliance have it on it’s own table for all the condiments or it will be something to throw later in the garbage all of the uneaten popcorn. We did buy a salt and butter spray. Let me just say…HARD PASS.
Popcorn Holders and Snack Holders for pizza or nuggets for $1.99 at Hobby Lobby.
I really liked the holders that I picked up in the party and decorations aisle. They were a good size and definitely something I would use again.
Oven Pizza and Chick-Fil-A Nugget Platters
My kids are picky eaters and sometimes it is a hit or miss on what will be eaten. So we just bought a platter of 120 nuggets from Chick-Fil-A that includes one FREE squeeze bottle of sauce.
We bought oven pizzas from Aldi and many seemed to enjoy it.
Candy
I went ahead and did a basic zip lock treat bag and filled it with an assortment of candy bars and sour patch candies.
Drinks
We provided clear cups, lids and straws for anyone who wanted lemonade from a drink dispenser. In a nice size igloo cooler we included an assortment of drinks in it.
One thing I probably would suggest to do is have oversized signage for people to see where things are at. From the restrooms to where are the eating utensils.
Having an event like this you may need a crew of people to help you. Having things premade will help for easy transport and setup. I know that one may be inspired by Pinterest boards out there with all the pretty table setups. If it stresses you out…don’t do it. This is about the birthday person and not about what did not get done or if you have makeup on. Special thanks to my husband who provided a lot of action behind the scenes, my mother in law for some delivery to food serving and to many of my friends who jumped in with games.
Let me know what is your favorite backyard movie night essential in the comments below.