Why Pumpkin Cake Pops?
Instead of handing out traditional candy, consider delighting your friends and family with homemade pumpkin cake pops. Not only are these treats fun to make, but they also add a personal touch to your celebrations. Whether you’re looking to impress guests or simply enjoy a creative project, pumpkin cake pops are a great choice.
Finding Inspiration
There are countless tutorials available online to help you master the art of cake pops. I found myself returning to a couple of YouTube videos that provided clear and easy-to-follow instructions. As with any craft, practice makes perfect. Don’t be discouraged if your first batch doesn’t turn out as expected—each attempt will improve your skills.
My Cake Pop Journey
I set a goal of making 100 cake pops and managed to create 80. I experimented with three different flavors: Devil’s Food Cake (36 pops), White Cake (30 pops), and Carrot Cake (14 pops). The Carrot Cake, made with coconut oil instead of vegetable oil, was my personal favorite, especially when paired with Cream Cheese frosting.
Preparing the Cake Mix
Once your cake has cooled to room temperature, crumble it into a large mixing bowl. Gradually add the Cream Cheese frosting, one tablespoon at a time, mixing it with your hands. Aim for a consistency similar to playdough. Depending on the cake’s texture, you may need up to four tablespoons of frosting.
Shaping the Cake Pops
When the mixture holds together and forms a ball, it’s ready to be shaped. Use a melon scooper to portion out the cake and roll it into balls with your hands. Place the balls on a cookie sheet lined with wax paper, arranging them in rows of five. Once all the balls are formed, freeze them for 15 minutes.
Melting the Candy Coating
While the cake balls are chilling, melt the candy melts in a thick glass mug. Microwave for two minutes, stirring after one minute to achieve a ribbon-like consistency. If the mixture cools down too much, reheat in 30-second intervals. At this stage, you can add food coloring to achieve the desired pumpkin hue.
Dipping and Decorating
After the cake balls have chilled, dip the tip of each lollipop stick into the melted chocolate and insert it halfway into a cake ball. Once all the sticks are in place, dip each ball into the melted chocolate, swirling to coat evenly. Tap off any excess and place the pops on the cookie sheet or stick them into a Styrofoam block.
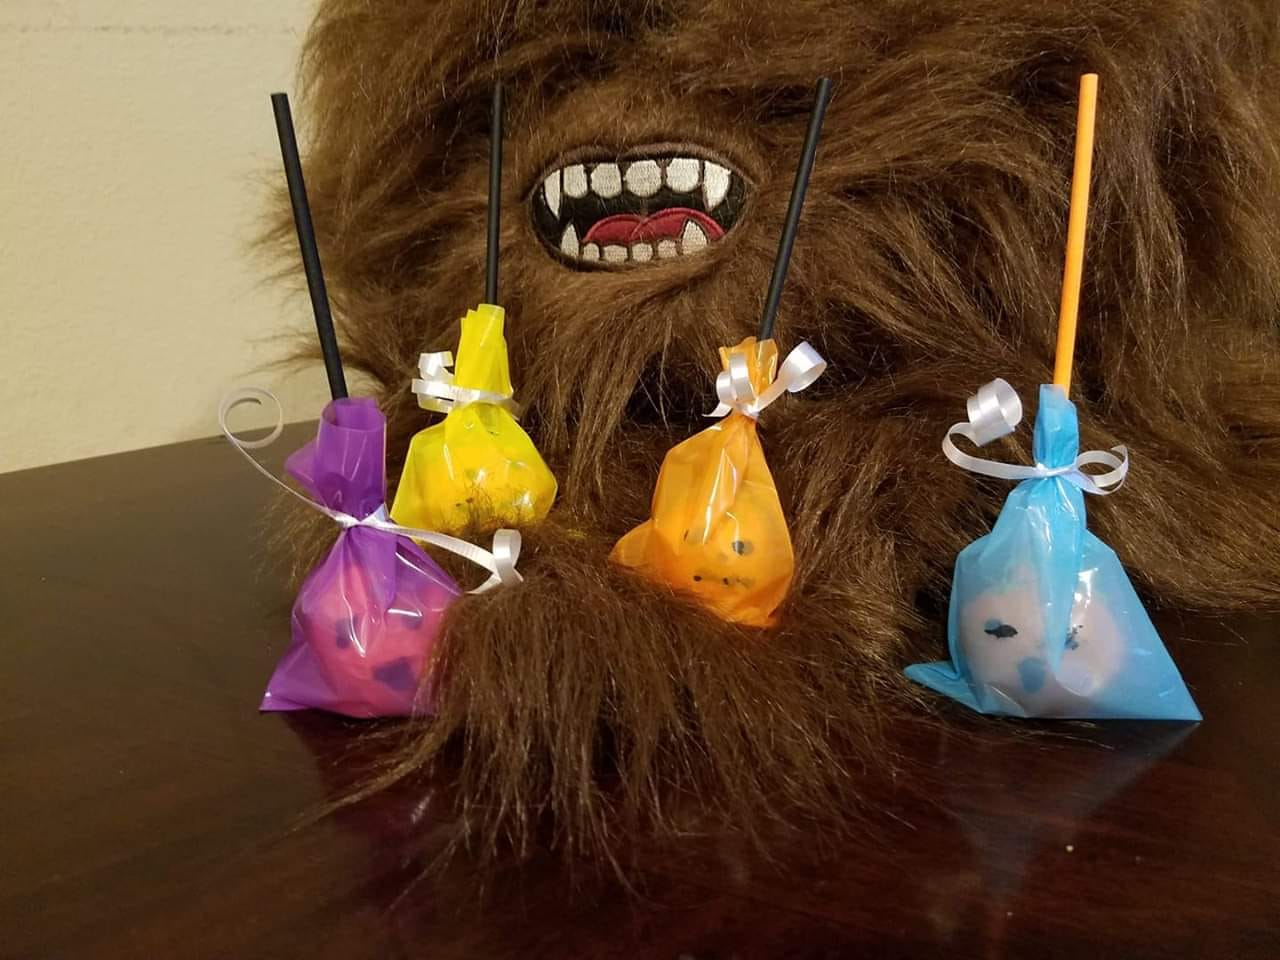
Creating Pumpkin Faces
Heat the gel food coloring according to the instructions, then pour a small amount into a bowl. Use toothpicks to draw faces on the cake pops and to create green chocolate leaves and stems. Allow the decorations to dry completely before covering the pops with treat bags and tying them with ribbons.
What You’ll Need
Here’s a quick checklist of the supplies you’ll need in addition to your cake ingredients:
- 9″x13″ Cake (Baked and Cooled)
- 1 Can of Frosting (16 oz)
- 1 Melon Scooper
- 2 Bags of Candy Melts (16 oz each)
- 100 Lollipop Sticks
- Gel Food Cookie Icing Coloring
- Orange and Green Food Coloring
- Toothpicks
- 100 Treat Bags
- Oven Mitt
- Styrofoam Blocks
- Wax Paper
- Ribbon
A Project with Purpose
This cake pop project is more than just a baking endeavor—it’s a way to be intentional with your time and spread kindness through small, handcrafted gifts. Each pop represents thoughtfulness and care, making them the perfect treat for special people in your life.