I just started recycling. I’m not really sure if I am considered a “hardcore” recycler. After reviewing how much debris from Christmas gifts to figuring out what to do with all of these empty boxes. Leaving them in a pile on the curb on trash day wasn’t something that I wanted to do. So I just started breaking the boxes down to be easily placed in the recycle cart and to allow more ample space for more items.
As I was sorting through the festivus there was so many darling little embellishments to cards that I thought about all of these crafty ideas. There have been so many times that I could of used a cute little gift tag for a friend’s shower to a homemade birthday card. Any mom with a tribe knows that there are times that you just forget that one card after you spent an hour or more going through a grocery store. Instead of feeling bad of not getting it. This will be handy for me to just open my little decorative gift box to select an item to incorporate in my next special project. Below I listed some ideas and also linked where you can get the product or review the step-by-step instructions.
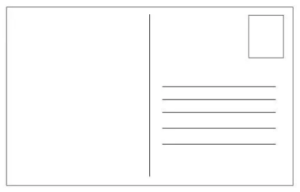
1. Postcards. Simply cut the flat cover of the greeting card. Flip over the back address and stamp in the appropriate place according to the US Postal standards. Add your message and voila! You have a postcard greeting card! If you have the time you could precut all of the cards that you would like to use for anniversary, save-the-date for a special get-together, birthday or a just because. If you want to send out the cover of the card that has embellishments on it I would recommend putting it into an envelope so that it has a better chance of it not having the pieces removed through shipping. Of course if it is sent in an envelope it would not be a postcard. So you would simply not include the address bar on the back. You would just write your message.
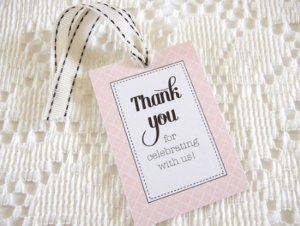
2. Gift Tags or Bookmarks. Use a ruler to pencil out what you want as your focal point. Try cutting with a pair of decorative edge scissors or straight edge. Cut a portion of your greeting card to a fun square, circle, rectangle or cut around the embellishment only. Use a hole puncher to punch a hole about .25 of an inch from the border. Then loop a craft string or ribbon through it and tie a knot through the punched hole. OR you can simply glue the embellishment cut to the back onto your gift wrapping or packaging for accent. Create a bookmark and punch a hole about .25 of an inch from the border. Use it for your next good read or give it as a gift to a friend.
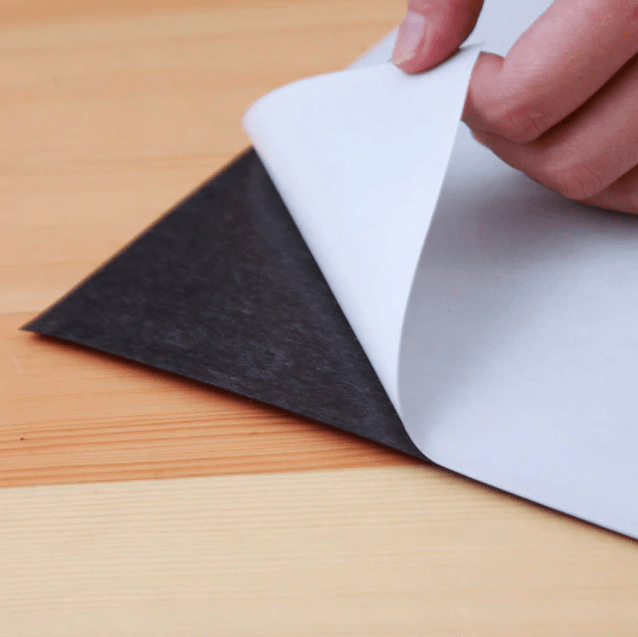
3. Magnets. Gift idea or organization? Cut out some magnetic adhesive and place on the back of your decorative craft project. You can place the adhesive part on a greeting card or put it on the back of your child’s craft artwork to put on your refrigerator.
b. Door Hanger Greeting. Or maybe you have a door hanger on your guest bedroom or bathroom and you wanted to put a nice little greeting for your guests to feel extra special. Or an attractive note to remind your guests when is breakfast? Attaching a magnetic greeting on the door hanger is just another location to utilize. Add decorative labels and place them on your metal storage containers in your pantry or counter space.
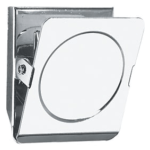
c. Magnetic Clips or Large Cylinder Discs. If you would rather use the cylinder discs be sure to note the strength. You may have to glue it with mod podge on the front and let dry before you start using it on your metal surface. The power of 10 is pretty good for any lightweight crafts for refrigerator placements. The magnetic clips you can glue an embellishment to decorate it. Any grandma would appreciate their grandchildren’s expressions on these to place on her refrigerator. Great use to pin reminders for home use or showcase your child’s artwork.
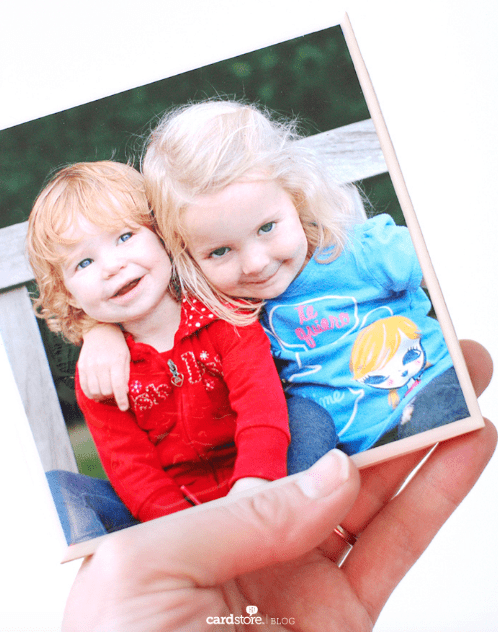
4. Coasters. View the step-by-step blog post by Card Store on how to make a photo into a coaster. If you follow the instructions by using a flat greeting card cover instead of a photo you can have coasters for any occasion. This could work perfectly for those annual family greeting cards. We all have furniture that you may want to last long so why not add to charming things to look at or interesting topics of conversation by creating your very own drink coasters. The post includes the materials needed to do this home project. Also I personally don’t just use coasters for drinks in my home. We use them also in our bathrooms. We use battery powered toothbrushes and we have them stand on top of our custom coasters near our bathroom sinks. It is so much easier to clean up any ick from our granite countertops. No more toothbrush containers made of metal or plastic for my family.
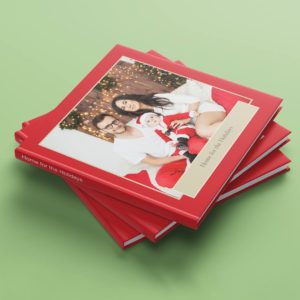
5. Photo Book. If you are savvy with desktop publishing this will be a breeze. They offer a way for you to upload your pdf or you can use their online wizard to create your project. Choose multiple sizes and styles of printing a minimum of quantity of 1 or more. Use a scanner that offers the right resolution, measured in dots-per-inch (DPI), for your image (300 dpi). More dots mean more details. Save the images as JPEG or TIFF files. Organize your digital files into folders on your desktop computer. You can go to any printer, but you may be faced with having to order a set quantity. PrestoPhoto is an ondemand digital printing company that has an interactive product chart and easy to use book formula. To get started on your keepsake photo book go here.
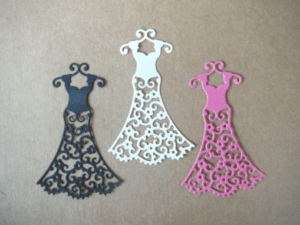
6. Embellishments. Get yourself a dedicated box whether it is a small tub or a shoebox. Something you will actually remember that’s where you put it and have it placed as a decorative piece on a shelf for convenience. Embellishments are those decorative details or feature that adds a little something to make your project attractive. There are a ton of greeting cards out there that have them and you may have received some too. Recycle them by removing them gently from the card or cut around them. Make borders for a frame in your scrapbook. Cut out the whimsical words for headers, subheadings, random words to glue in a journal or letter to a friend. Maybe some of the beveled imagery could be used for a school project or an eye-catching resume. Your creative engine needs parts or it could inspire your next do it yourself craft.
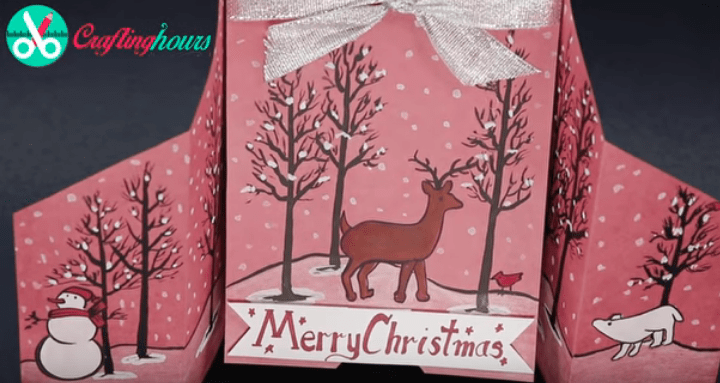
7. Paper Crafts. So there you are staring at all of these cut out pieces and wondering what you could apply them to? Consider making bookmarks, holiday decorations for tabletops or vases, ornaments, 3D popup cards, story quilling, hanging room decór, treat bag accents and so much more. For inspiration check out Crafting Hours Youtube channel. They have a plethora of videos with step by step instructions.
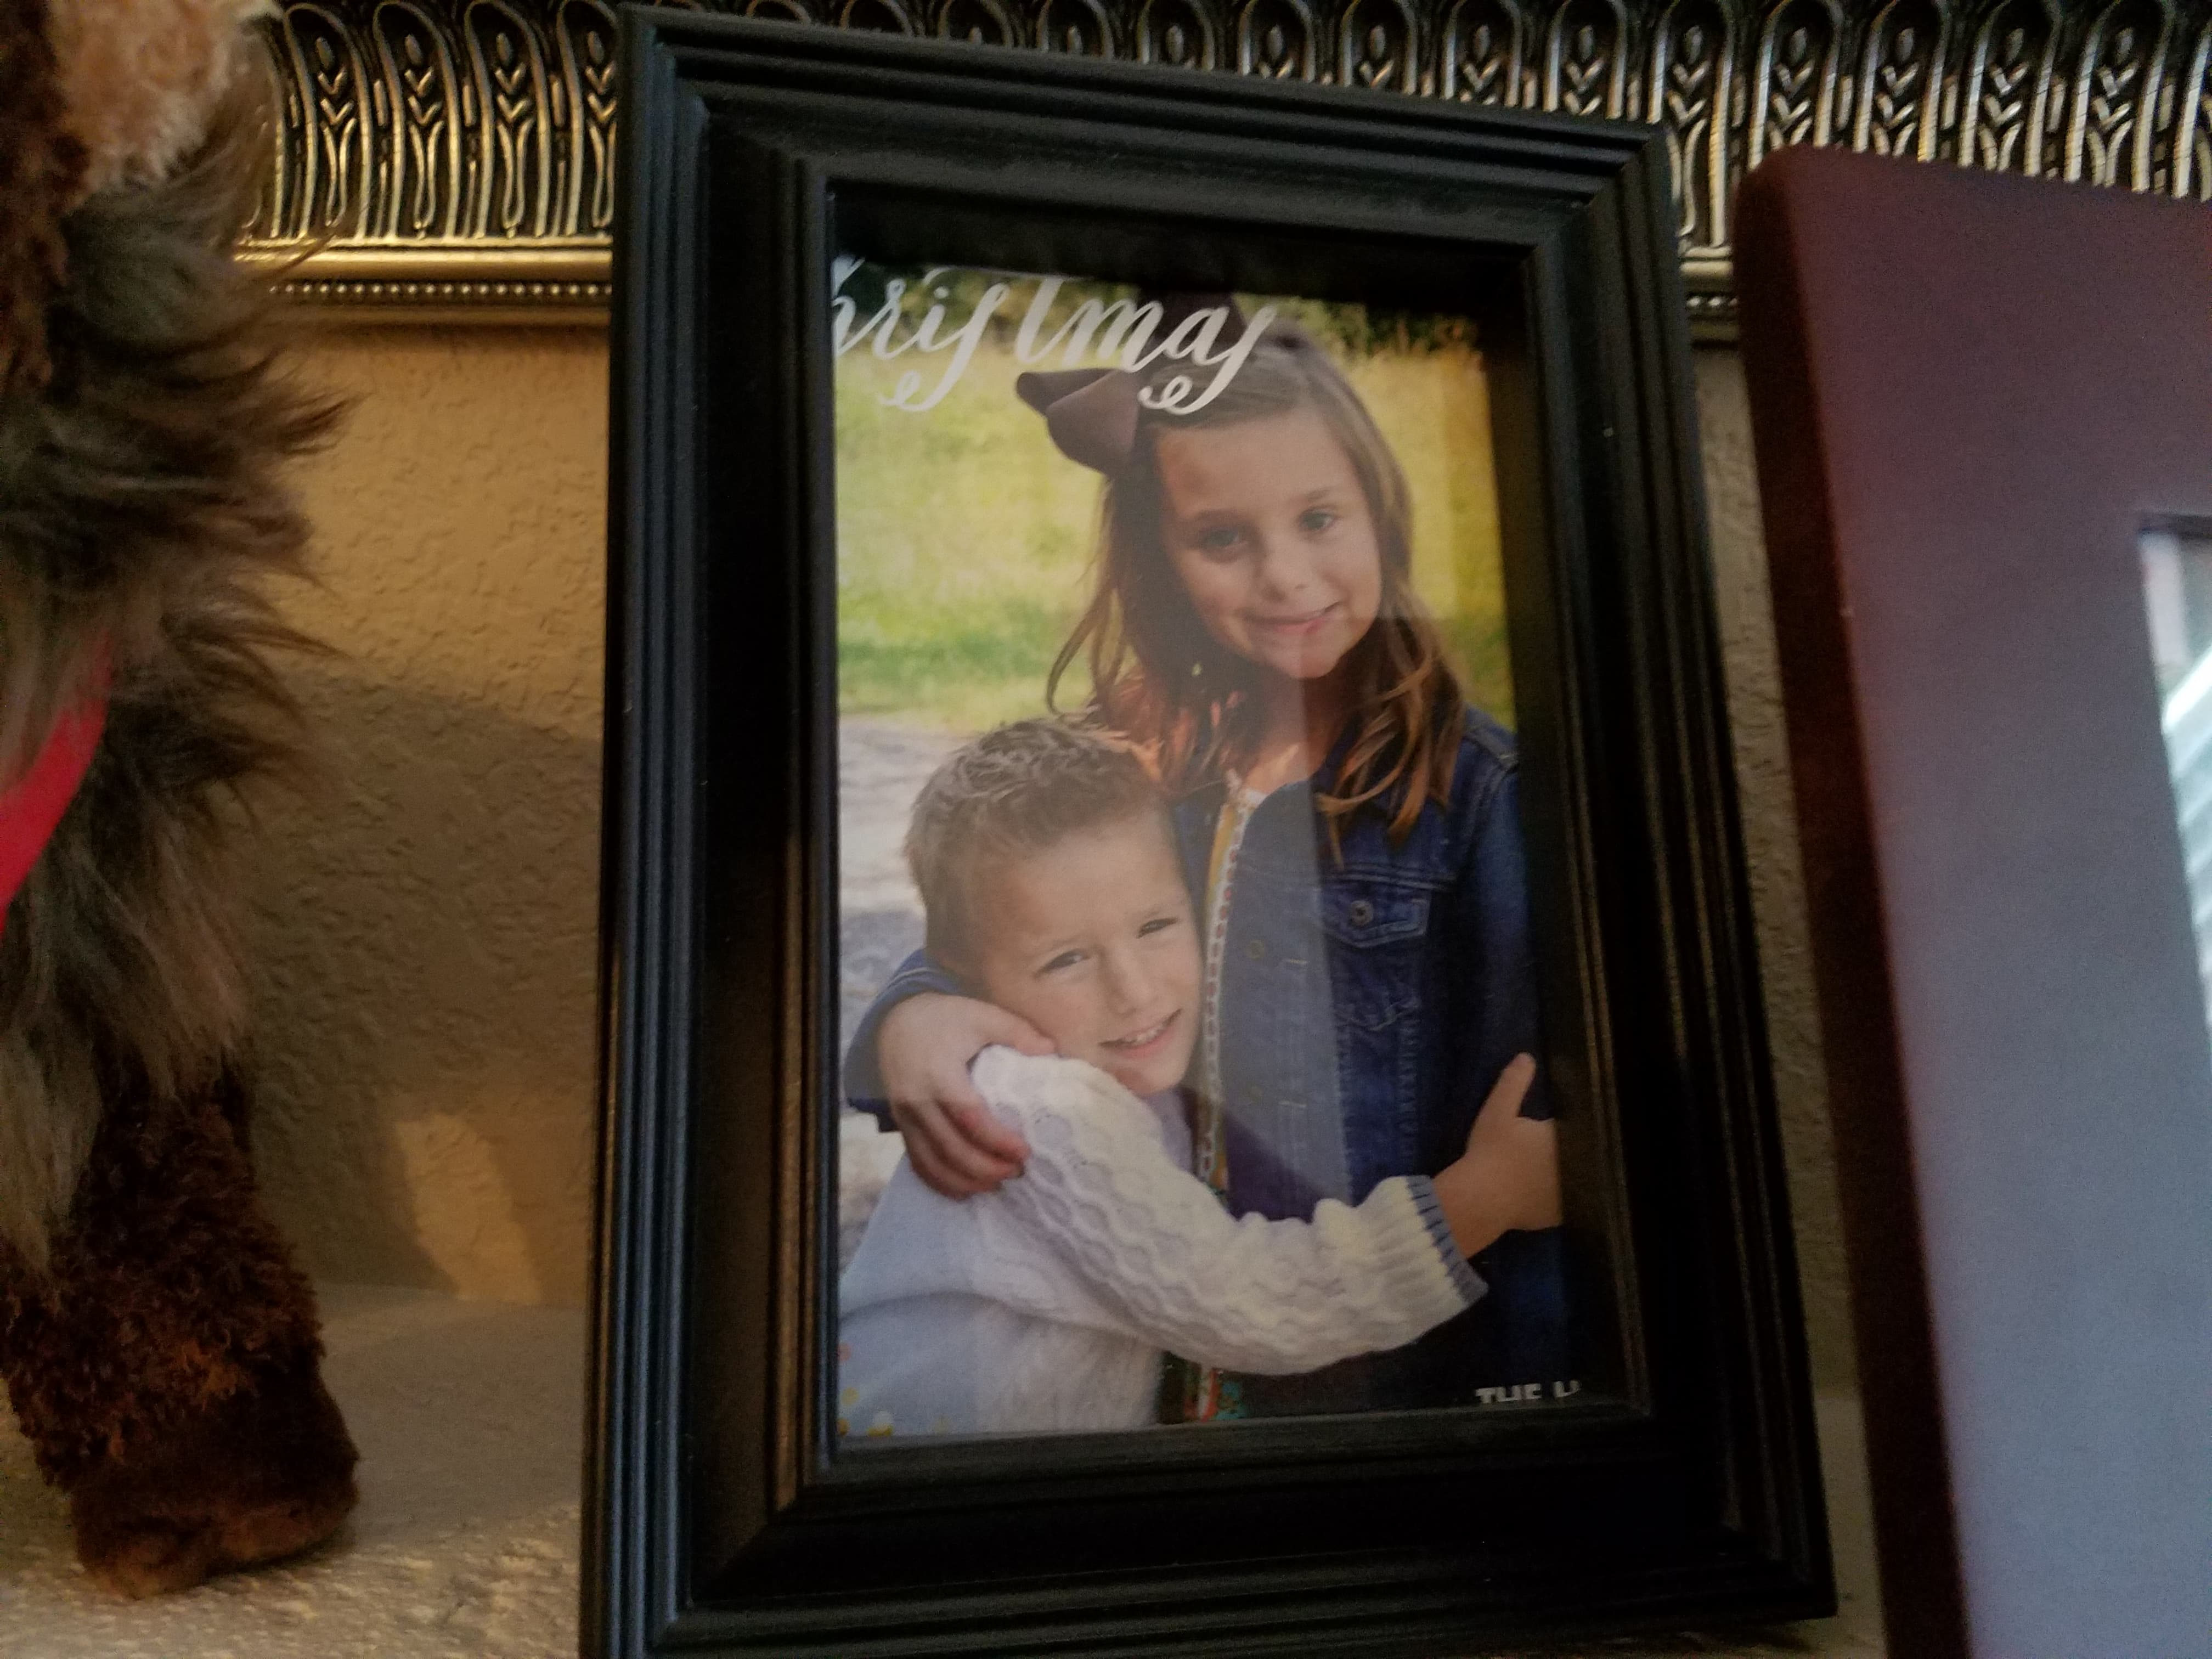
8. Frame Your Favorite Greeting Cards. It is not often that I get photos of my nieces and nephews. One year I received a 4×6 greeting card and framed it. It sits on top of my mantle with my favorite family photos. Of course, framing family photos is just one idea. You could also frame those greeting cards that has a holiday theme, calligraphy heading, scripty poems or the festive font words that you like. Or maybe there was scenery and some scripture that resonates that you could put in one of your rooms or office space.
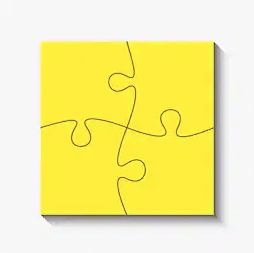
9. Puzzles. Below are three ideas based on material availability to skill level of what you could do with your greeting card. This could be a fun activity that you could do as a family or something to take with you when you are in a waiting room.
a. Paper Puzzles. Cut the cover of the greeting card. Turn it over then make puzzle shapes and number each of the shapes with a pen or pencil. Cut the shape out with scissors and put them away in a plastic sandwich bag. Probably a good idea to number the back of the pieces. Most greeting card are on a card stock or heavy weight paper.
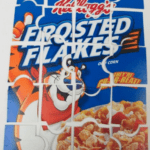
b. Cereal Box Puzzles. To make a sturdy puzzle, but something you can easily cut through with scissors. Try using the following materials a cereal box or cake box. Choose one of your greeting card covers, a calendar sheet, a photo OR a coloring book cover and glue it onto the cardboard with mod podge. When it is dry turn it over to the back of the cardboard and draw jigsaw puzzle shapes with a pen or pencil. A cereal box will be much larger than the average size flat greeting cards. So you may have to trim the size down after it is glued. Either use a paper cutter or an Exacto knife blade to cut to fit. Number the pieces. Cut out the shapes and put them in a ziplock bag.
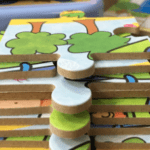
c. Dremel® Jigsaw Puzzle. If you are handy with a Dremel® saw you can follow some steps to create your next diy wood project. Always wear eye and respiratory gear before you get started. Spray mount your template to your MDF. Your template is your go by of where to cut your puzzle pattern. Place your printed greeting card cover or photo face-down and assemble the puzzle pieces you just cut on top. Trace each piece of the puzzle along the back-side of your photo. Use an Exacto knife to cut along your outlines. Once cut out you can mod podge each of the pieces. You can view all 4 steps in greater detail and the materials needed by clicking here.
10. Greeting Card Program
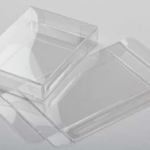
Start a collection with friends, family, church members and/or community by recycling the face of the greeting card and group them to give to a family in need. Bundle them and wrap them in clear packaging. Insert in a decorative box or box sleeve packaging. Or bundle them with a paper sleeve. Add a sticker to any of the packaging items with your logo and/or contact information. This is just a nice gift that those on the receiving end would be able to send greeting cards to their loved ones.
11. Donate
Below is a list of places to consider donating your cards. Keep in mind to contact these organizations on your own to make sure to meet their guidelines.
a. St. Jude’s Ranch for Children has a recycled card program where you can mail in directly. This program supports children and youth break the cycle of abuse, abandonment and neglect.
b. Correctional Facilities or Prison Ministry Programs may be able to utilize them for their faith based programs.
c. Women In Need Programs
d. Adult Daycare Centers
e. Senior Living Facilities
f. Afterschool Programs
g. Church Camps
Be One of A Kind.